

Here’s how we built it:
- After measuring and marking our wall VERY carefully, we mounted the first 1×6″ on left side (because it was against a wall) using a level and screws
- Next, the horizontal pieces, across the bottom, middle and top. MAKE SURE you get that middle one (or whichever one is holding your hooks) into studs!!
- Now measure and cut your 1x3s, and mount those above and below (on mine, the lower ones were approx 20″ tall and the uppers were 10″)


- Optional, but I found it looked nicer WITH it… the 1×3 went across the top like a little shelf (we just used a hammer and nails since this won’t actually be bearing any weight)
- We used wood putty on the screw holes and seams, and let it dry (and so ended DAY 1)
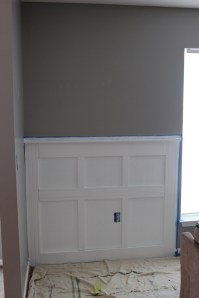
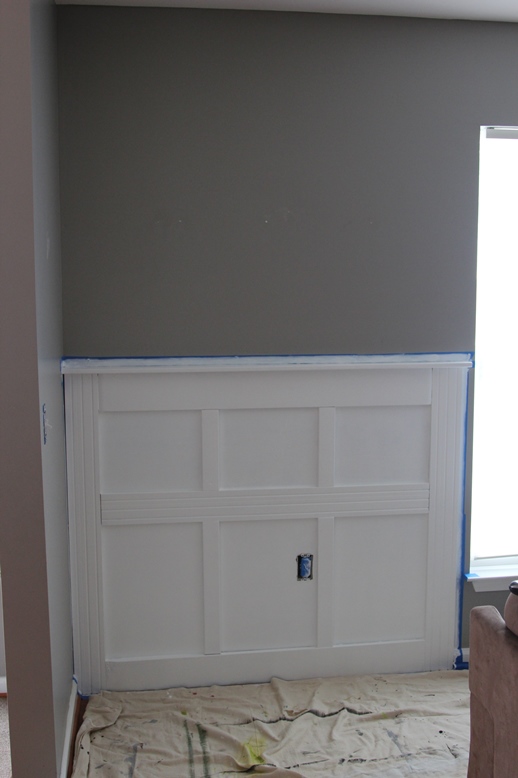
- The next morning, we sanded it down best we could, wiped off the dust, and prepared for the process of painting.

We taped off the walls and floor, got out our gear and set to work painting. and painting. and paintinGAH. (This took about 4 coats, including primer.)

Riiight about now is when I decided chalkboard paint would REALLY pimp out the Pinterestness. Ooh, and the wall on the left, too. I made too much anyway. (Then I mixed another batch because the first batch was light gray and chalk is white. Duh.)
I let it all dry overnight (finally it’s the end of DAY 2), to give the paint/chalkboard time to set up. (Also note, you’re supposed to season your chalkboard before you use it or you’ll end up with un-erasable lines later!)
Here it is… before and after! Phew! (FYI, that is an engineering print from Staples for $7, but that’s another post for another day.)

Here’s what I messed up on, so you don’t have to make my mistakes:
– So, 1x6s are neither six inches wide nor are they one inch thick. Shenanagans, right? They are actually 3/4″ by 5.5″, so take that into account when measuring and cutting. Same with 1x3s – they are 3/4″ by 2.5″ (I know… holy fractions, Batman).
– Walls and floors are NOT level, so WAIT to cut the smaller pieces until after the big ones are in place, then measure the space again. What should be 19.5″ in your design ends up being 20″ in real life, so don’t waste ya wood.
– Chalkboard paint can be made in any color, but make it dark enough so chalk will show up. (Again, duh.)
<< RETURN TO PAGE ONE <<
for supplies and measurements

One thought on “Backpack Wall part 2”