

Do you ever look at furniture and say to yourself “psht, I could make that.”
Typically happens to me immediately after peeping the price tag.
It’s likely that I most decidedly CAN/SHOULD NOT psht make that, but not this time! Therefore, I not-so-humbly present
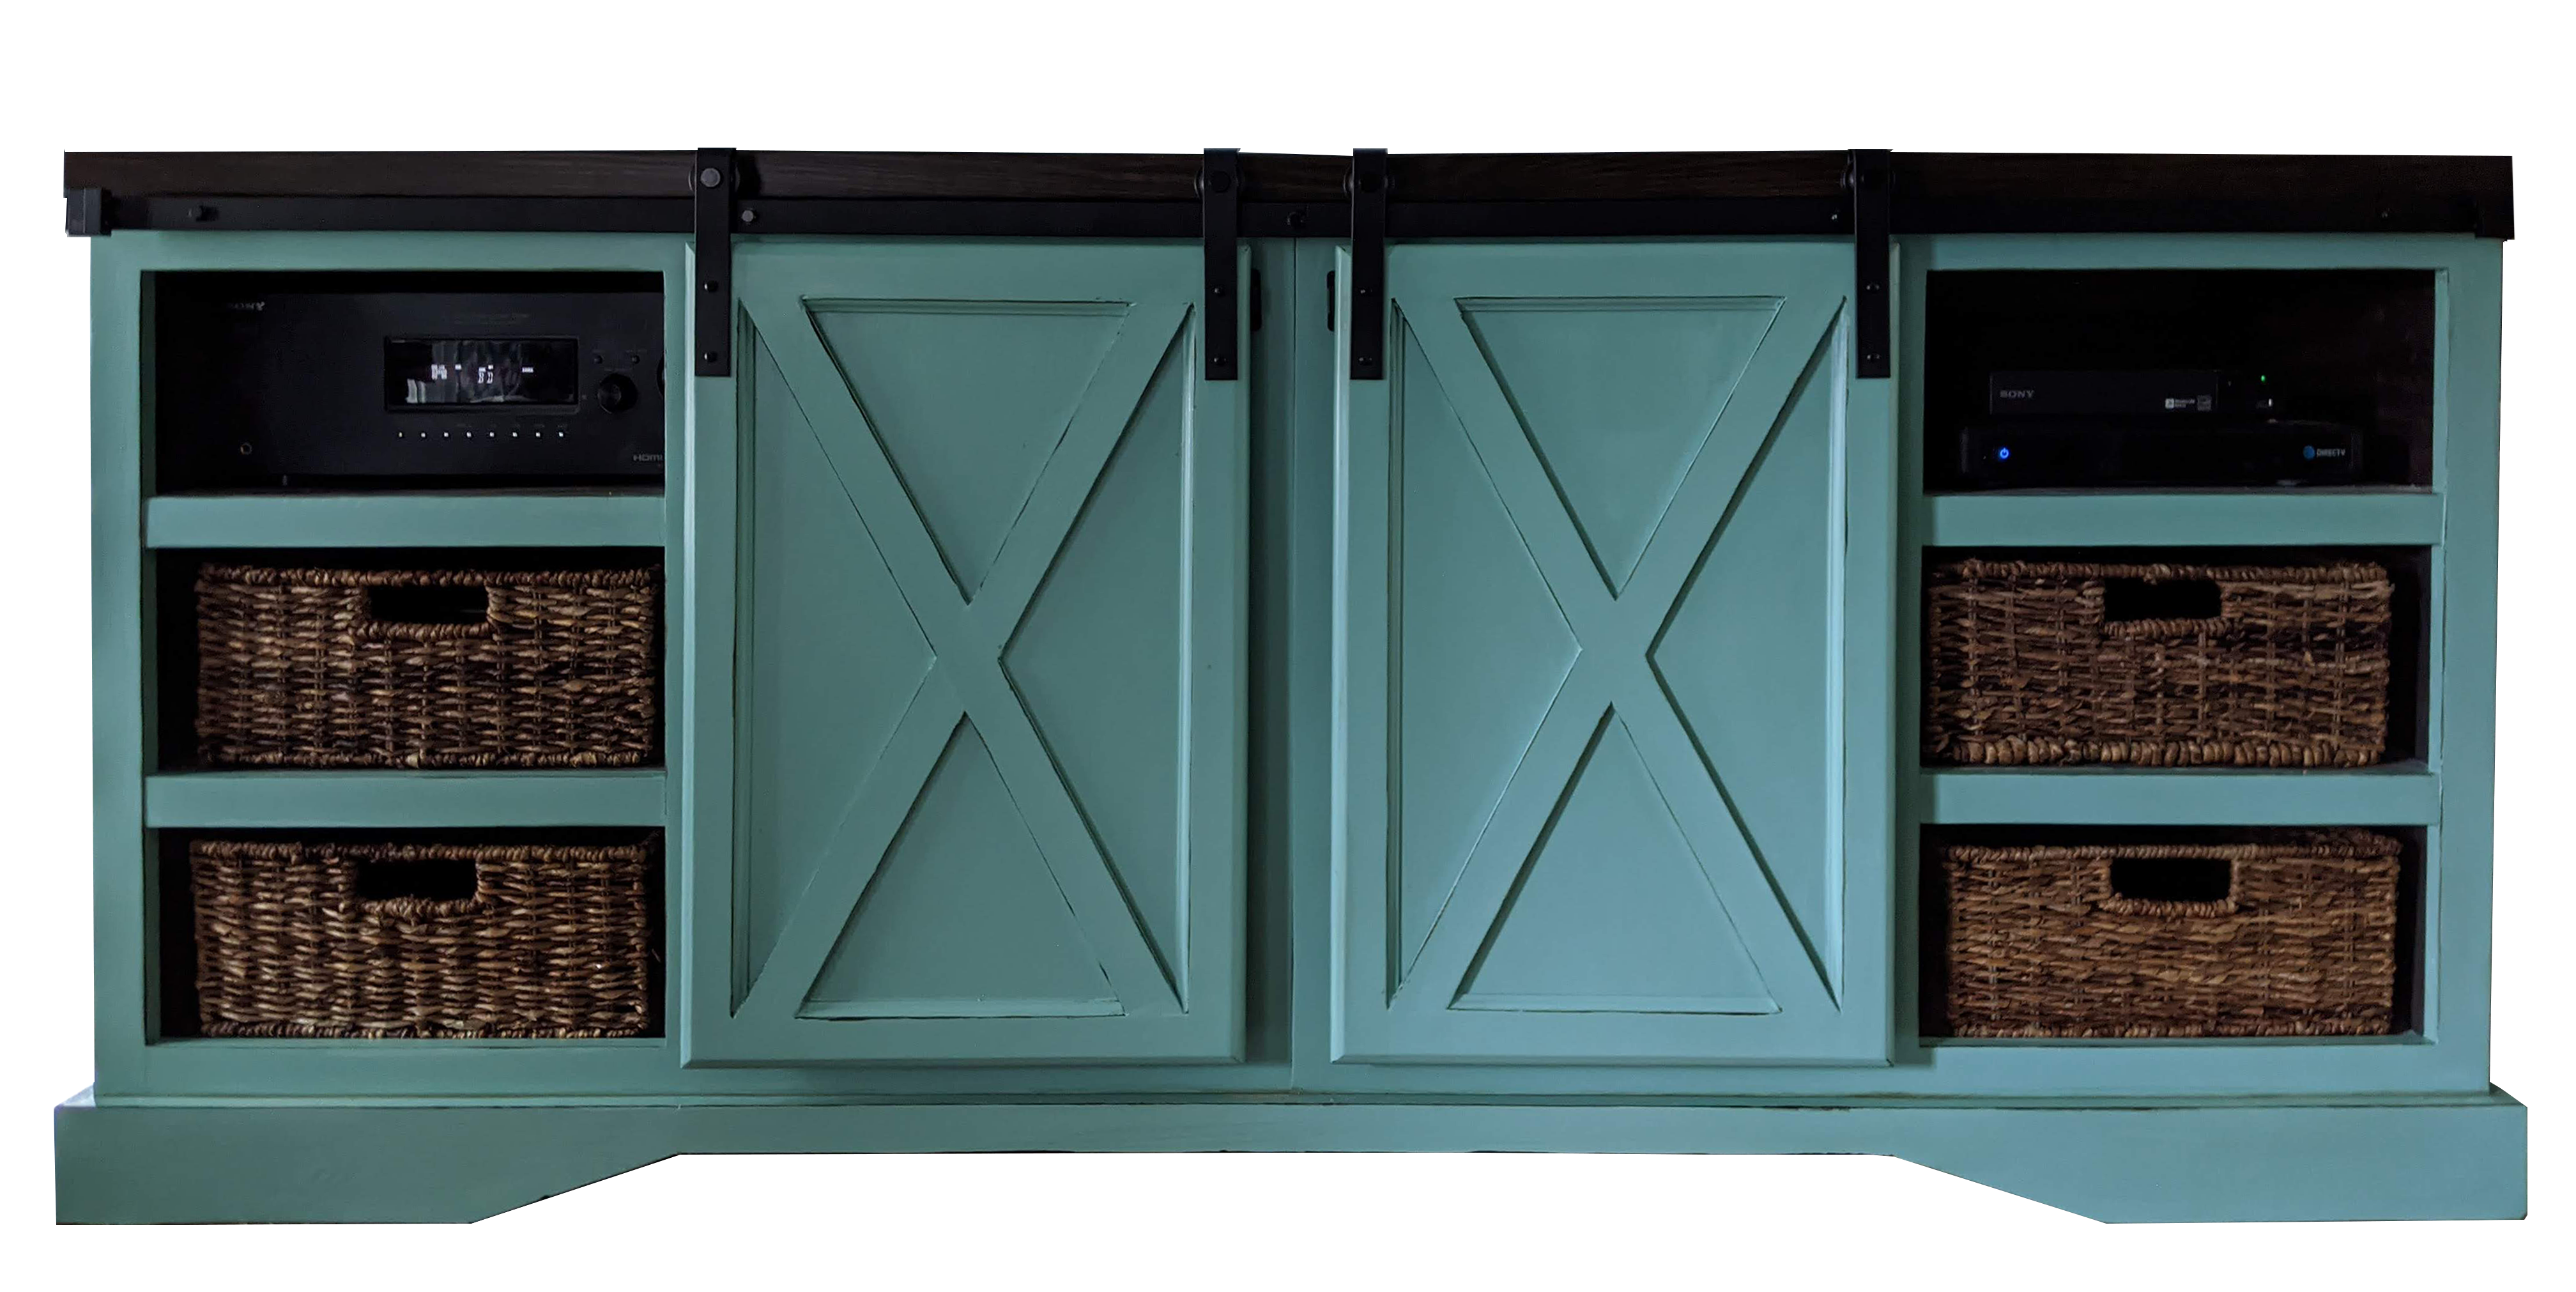
My DIY Barn Door Media Console
Alternate title: turning these stocky orange bastards into a much more peaceful, lovely, and USEFUL cabinet that will actually perform its intended function.

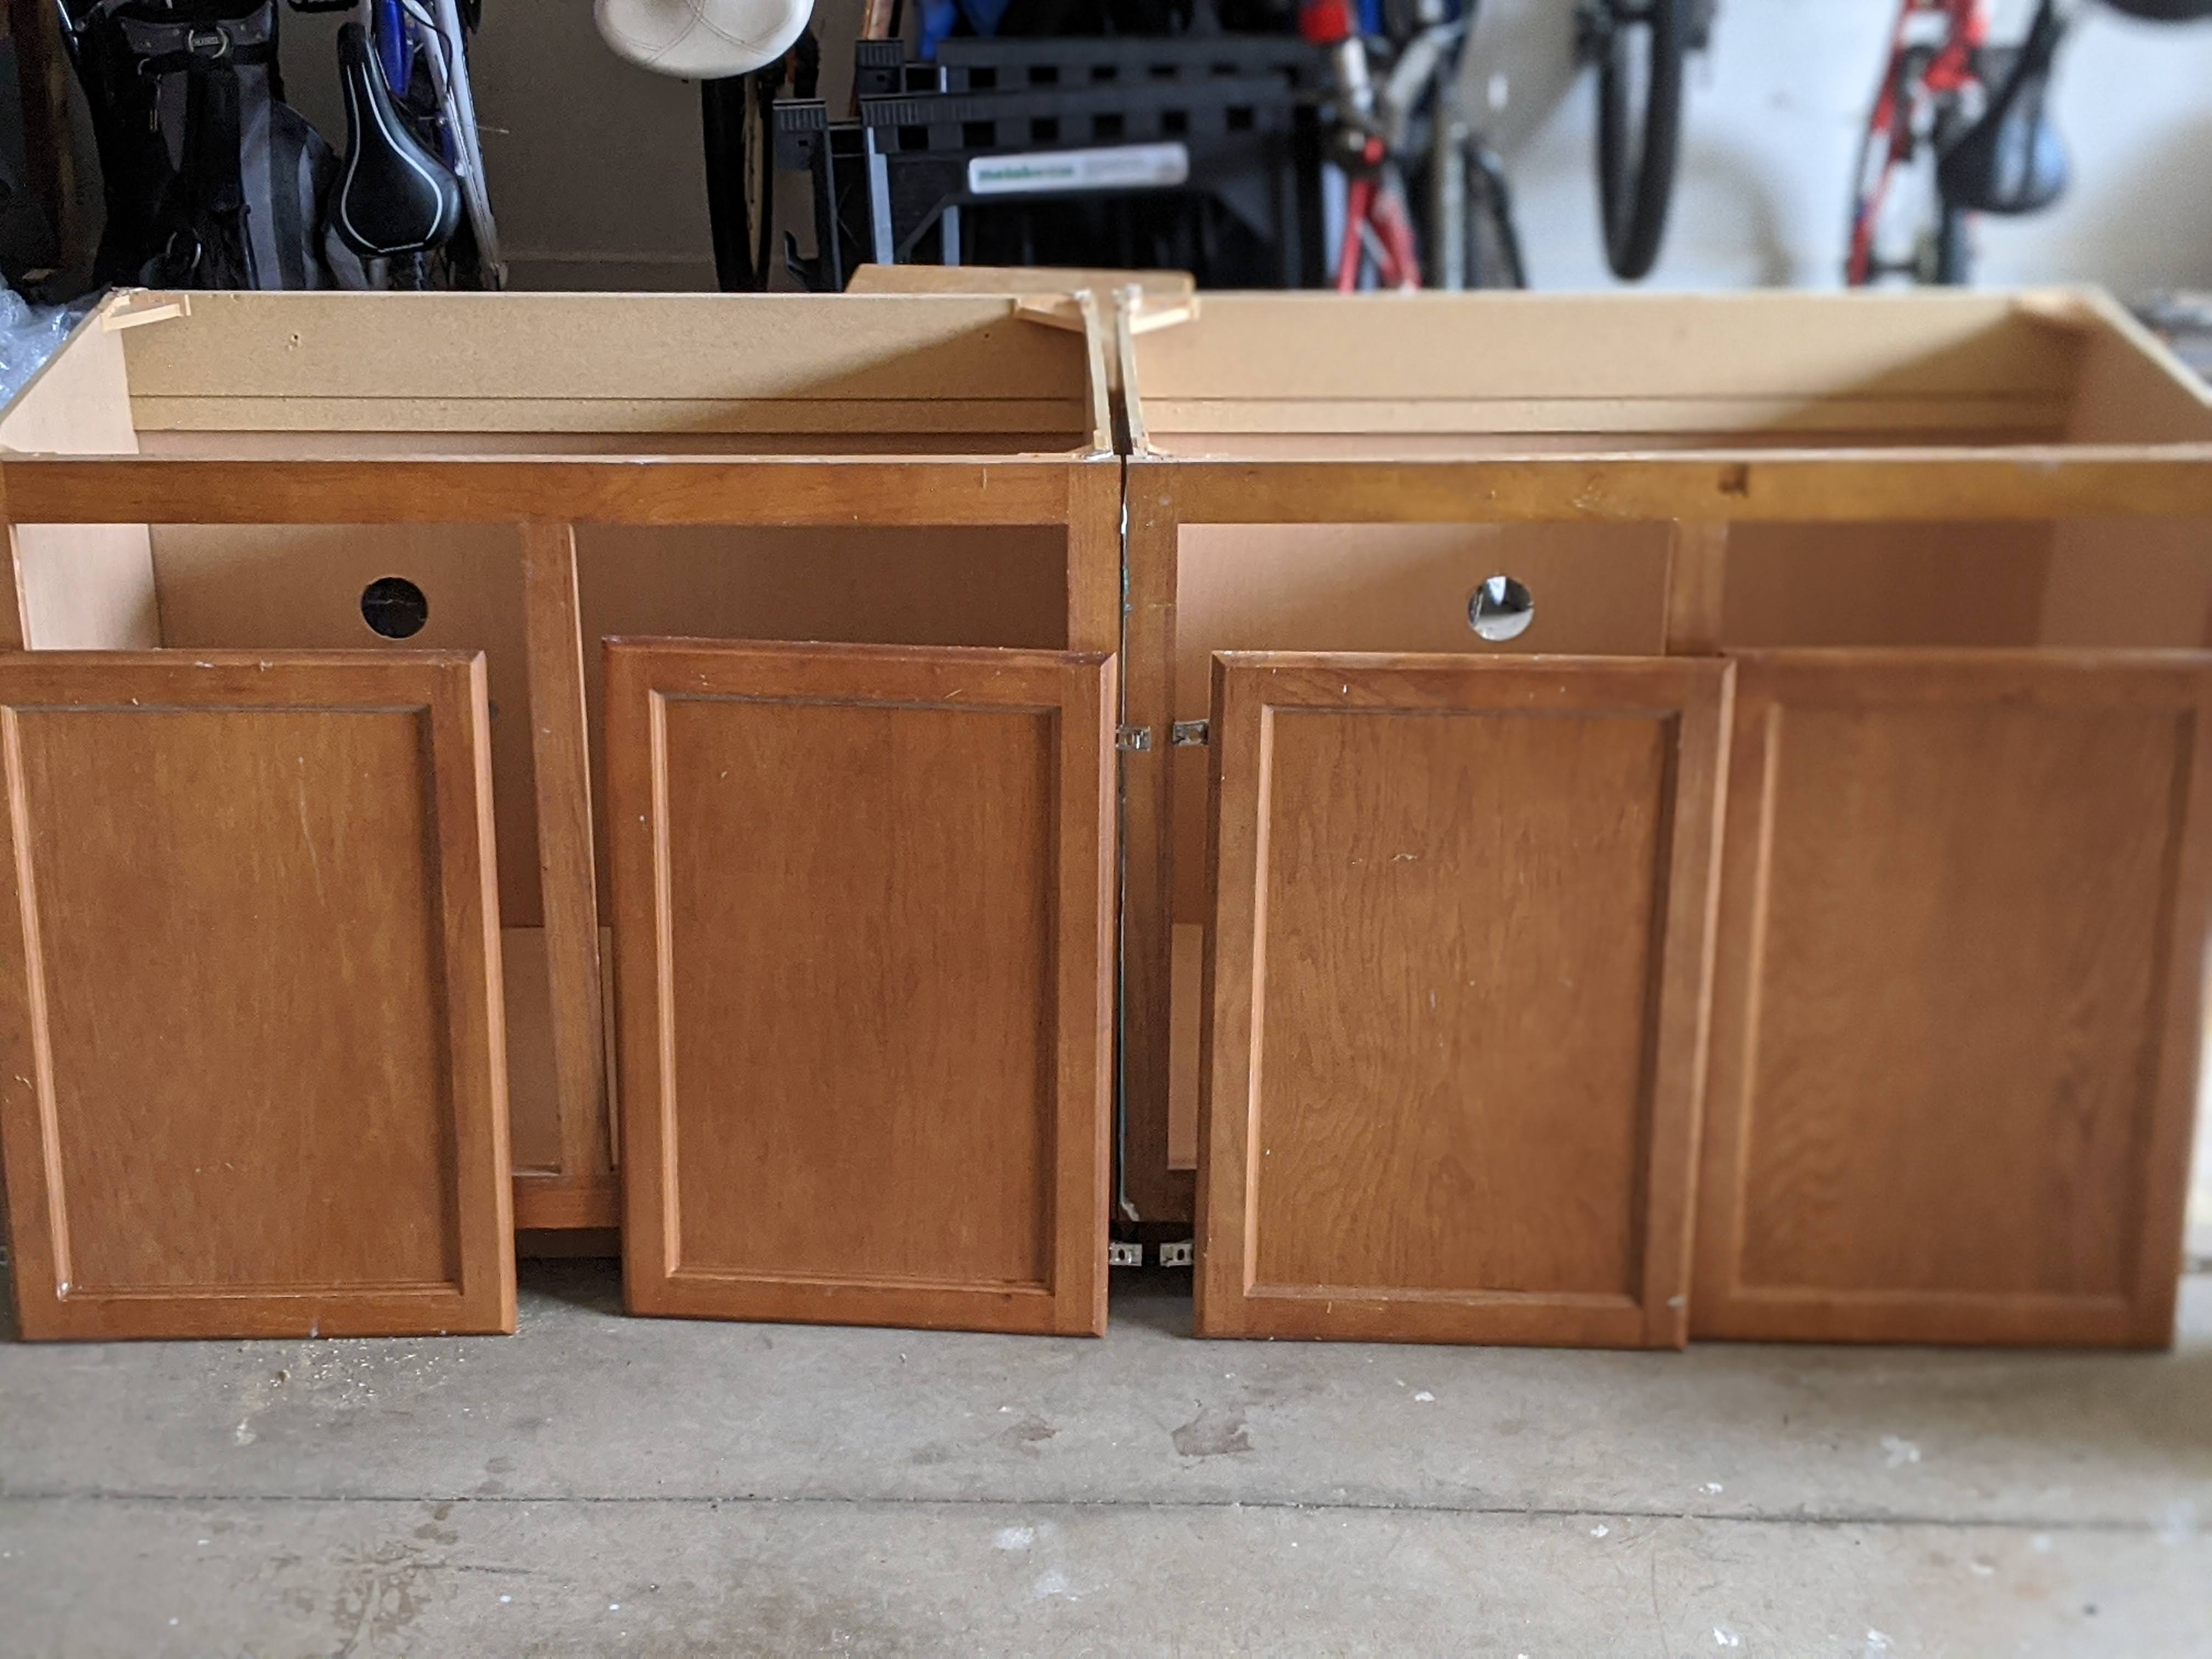
Once upon a reno, two fugly base cabinets exited our master bathroom to make way for an actual vanity. They were shelf-less, but decent quality oak, so I kept them in my garage, with a plywood top as a work (lol, storage) surface. (This is waaaaay) BEFORE:

Long story long, my husband’s pride and joy The Projection Screen dwarfs “normal” media consoles. We needed something at least 6 feet long. So when I came across Ana White’s Barn Door Console, I knew exactly what to do with those stocky orange bastards.
I began scribbling in my “thinking” notebook, which is code for my husband to prepare for a sawdust-covered wife with a hurt back.

I try to use what I have, as my goal is: spend as little money as possible whilst also shrinking my ever-growing scrap wood and/or leftover paint collections.
Does anyone else find solace pencil sketching 3D plans? I love overthinking stuff on graph paper, don’t you?
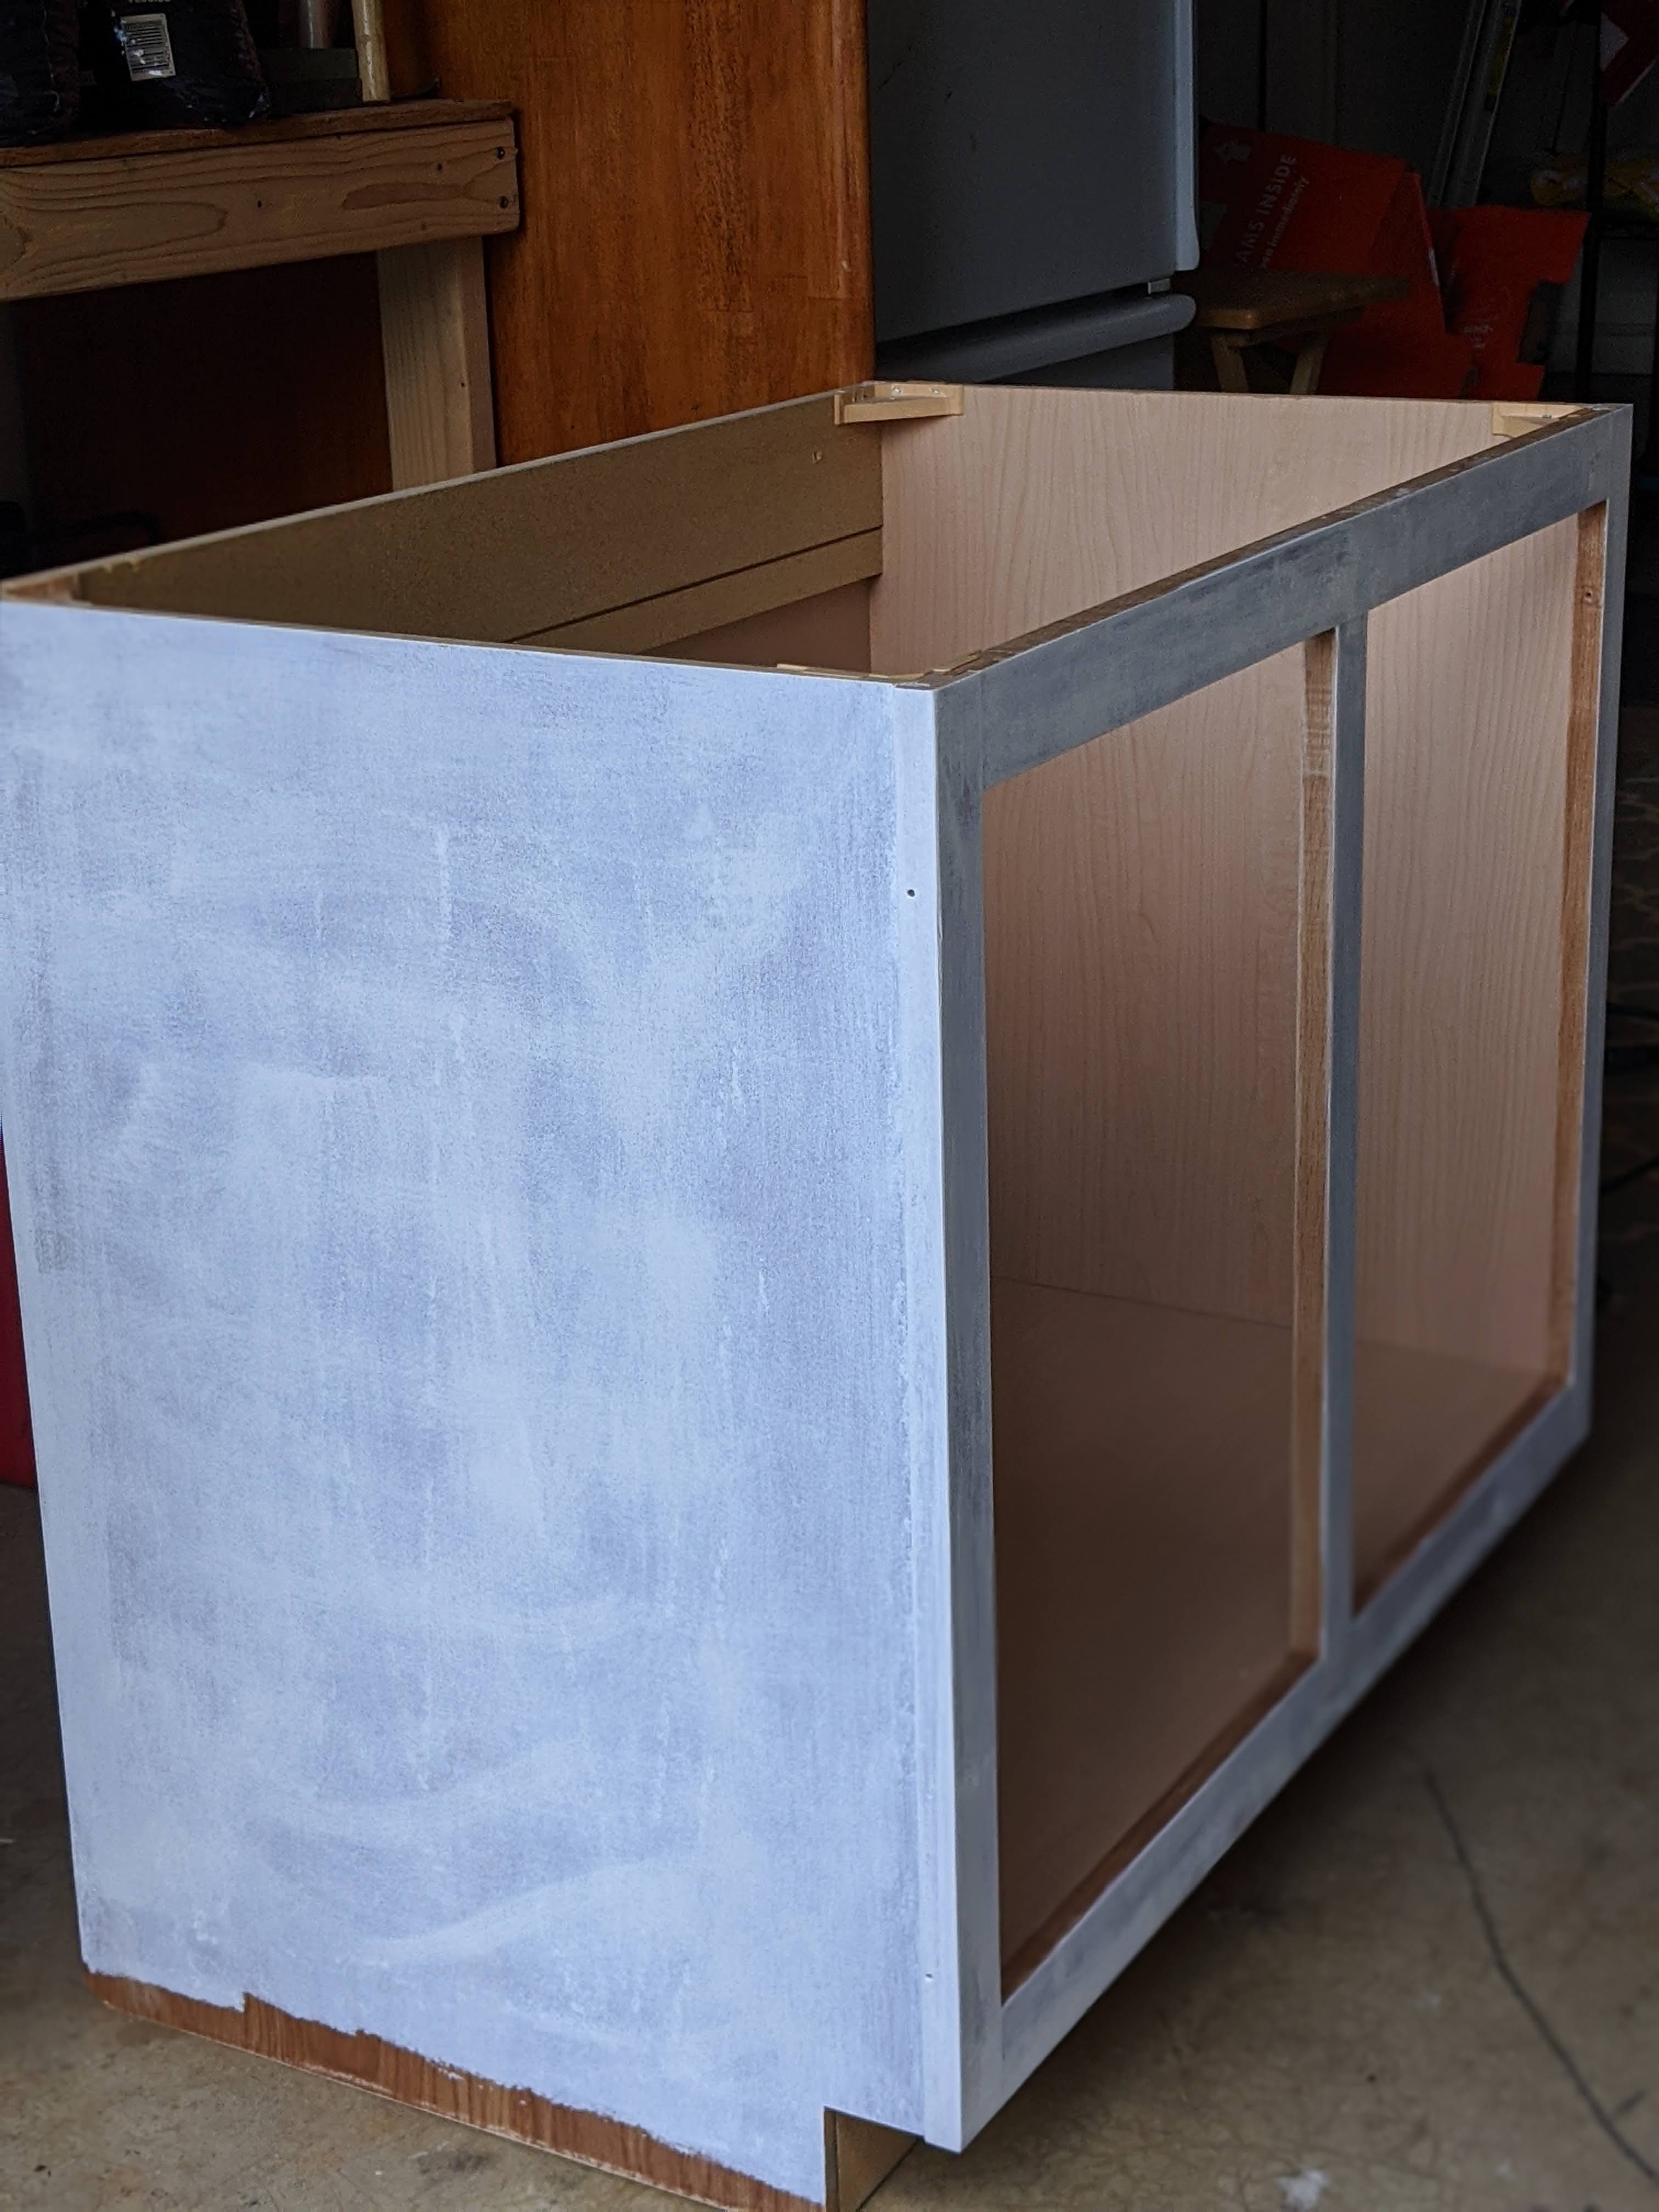
After deciding on a plan, I began by removing four doors and forty cobwebs, sanding off most of the filth finish, and priming everything that would be visible, including two of said doors.

Now it’s time for my LEAST favorite part of any project: Irreversible Decisions! Holes shall be drilled, screws shall be placed, mistakes shall be made.
Party on.
To attach the cabinets together, I put wood screws sideways through the face frames. (I also glued and screwed scrap wood between/behind the scenes to help keep the back together.) The top and trim will add structural support as well.

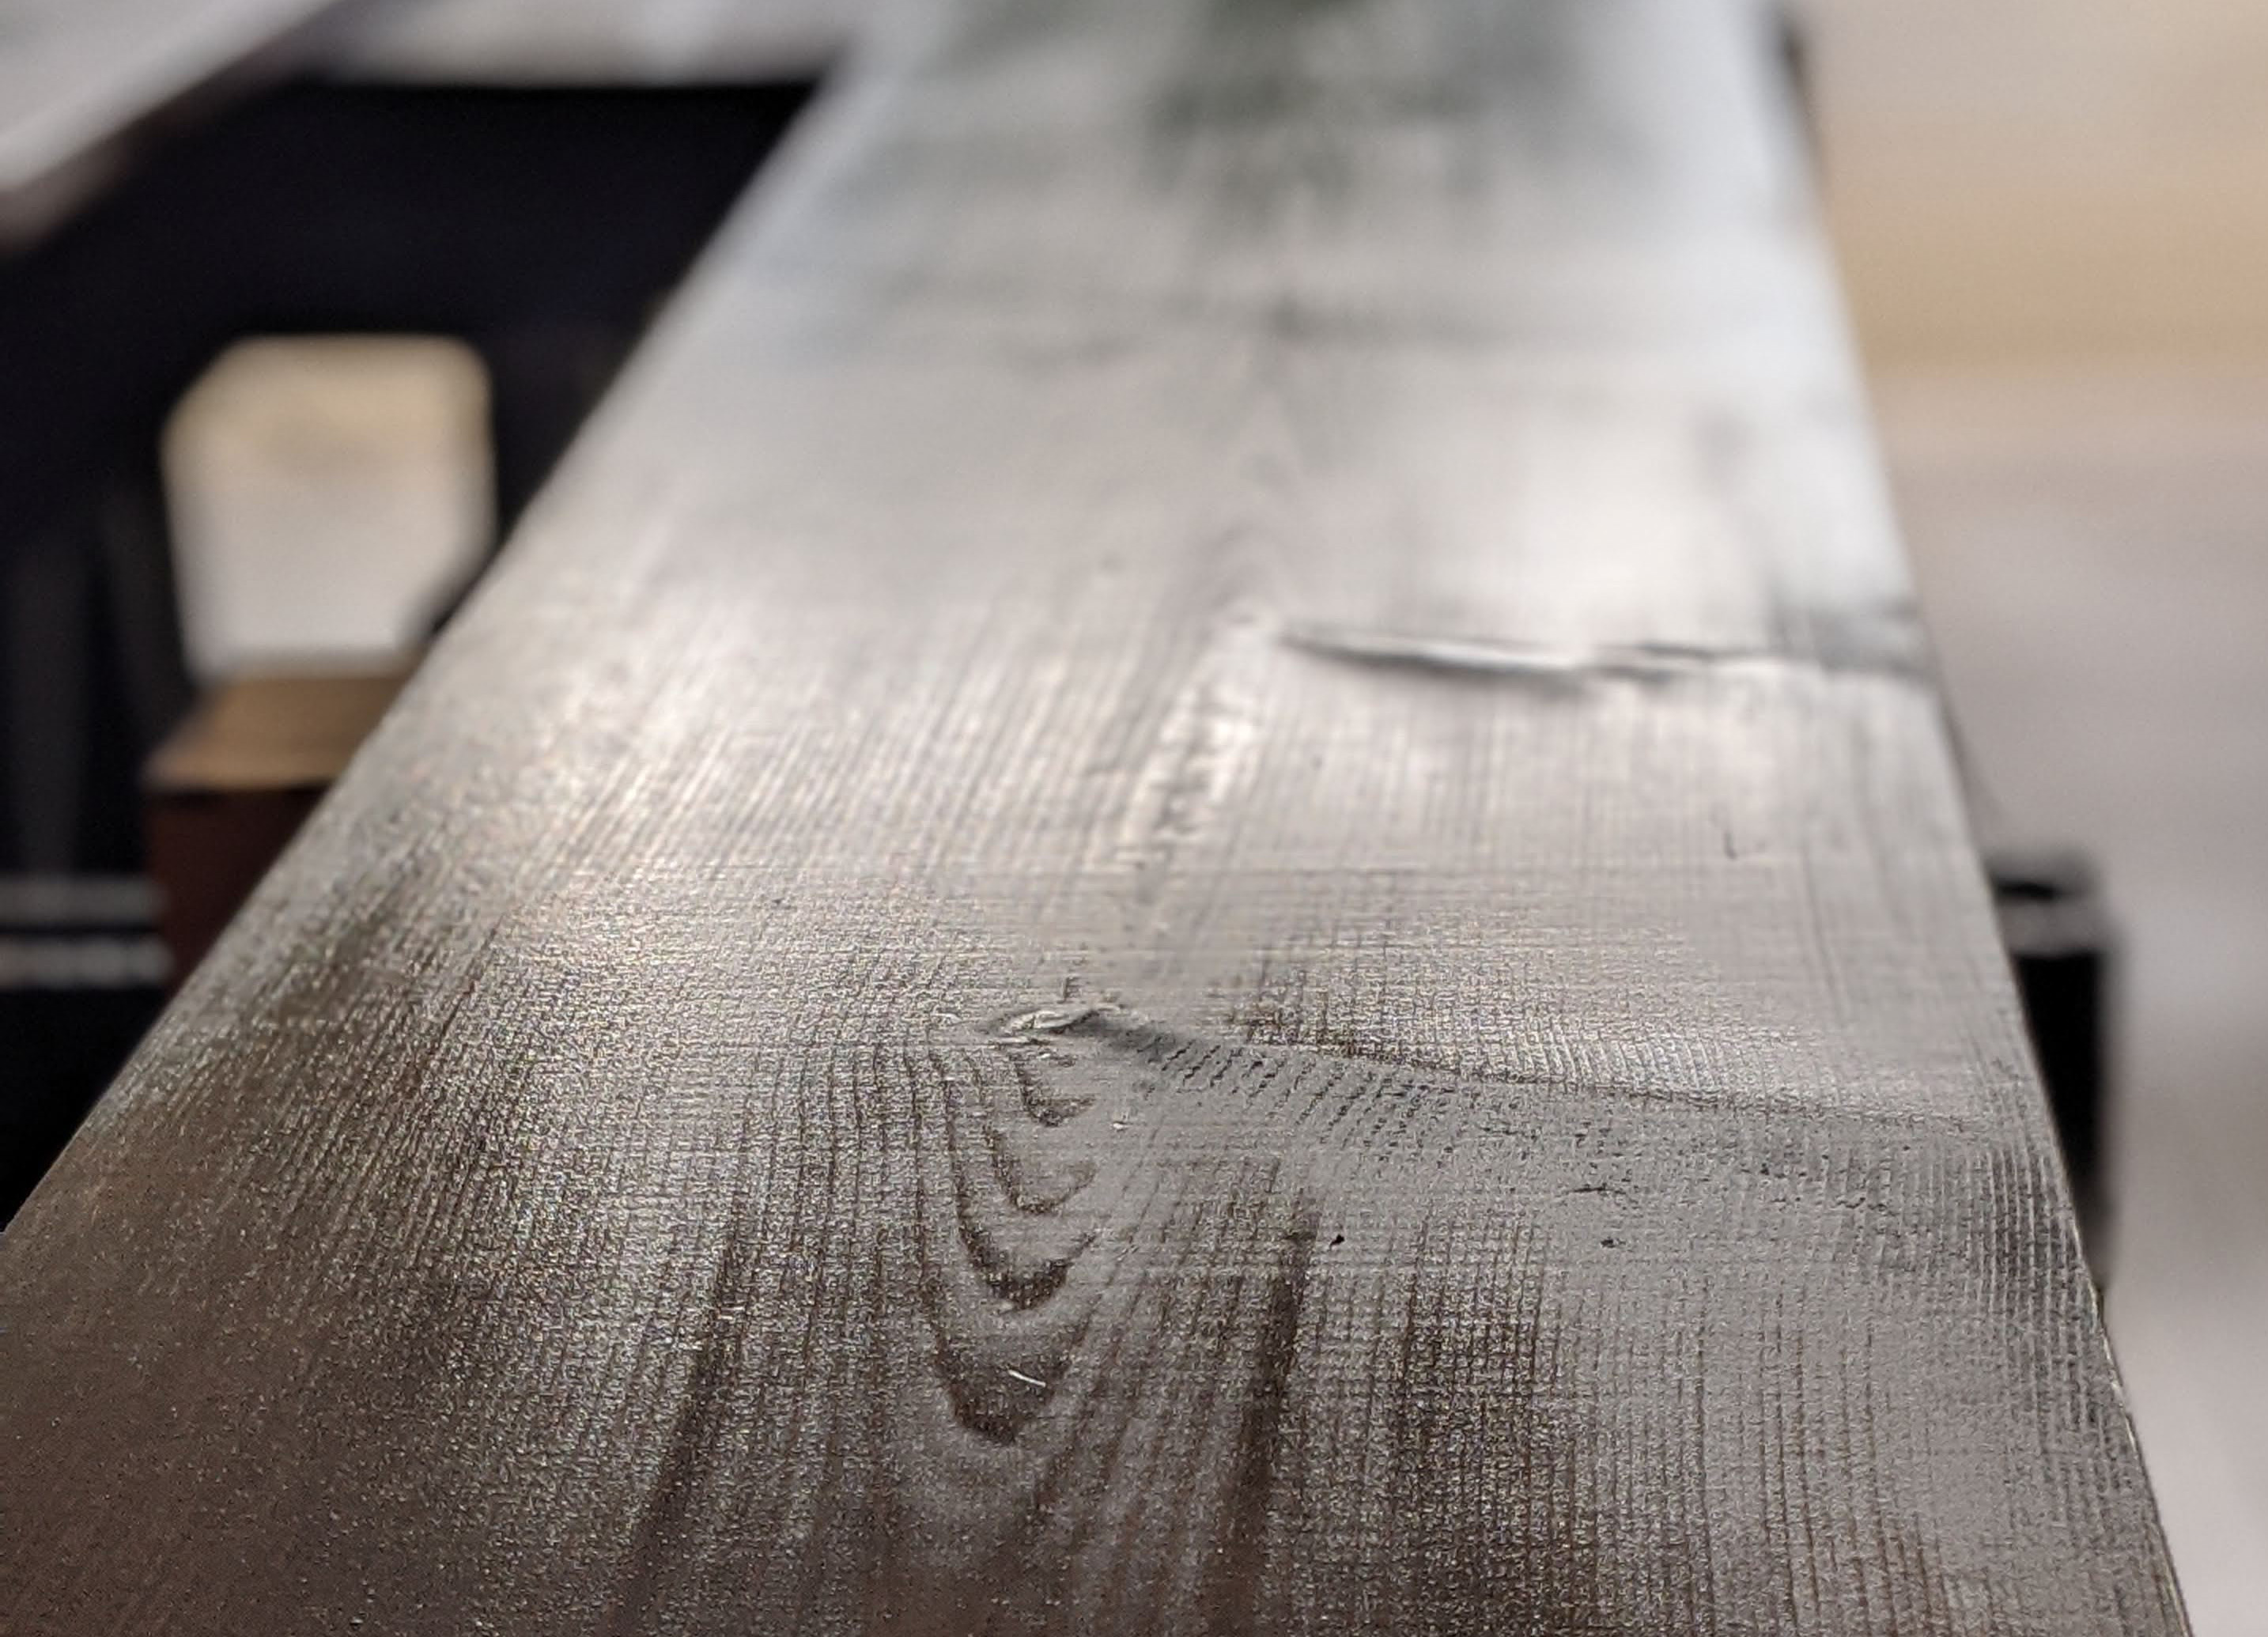
The top was 72″ across and about 21″ deep. So I chose three 2x8s (they’re each 7.25″ wide) from the pine lumber at Lowe’s.
I hauled them home and used my orbital sander with 120-grit until they were — as Grandad used to say, when I “helped” in his workshop — smooth as a baby’s butt. I laid them side by side to puzzle how they best fit together. Once I had them placed, I cut them to length + an extra inch.

This is a table top from another project, but you get the idea.
I attached them with pocket holes, and then cut straight down the sides to get a length of exactly 74″ (for an inch of overhang on each side). Then I used my orbital sander with 120-grit to round the corners and edges.
For the interior shelves, I bought a 4×8 sheet of 3/4″ plywood. I used a dark brown stain so the interior would fade into the shadowy recesses of the console, and give it some depth and contrast.
I cut four pieces to fit (two inside each cabinet). Since the plywood itself isn’t all that pliable, I placed supports in the corners and center, front and back, and just set the shelves on those. For cords, I added 2″ holes at the back of the top and bottom shelves.
Important tip: Measure your media components’ length, width and height to make sure your shelves will accommodate them! I had some baskets in mind and made my shelves just big enough for those.
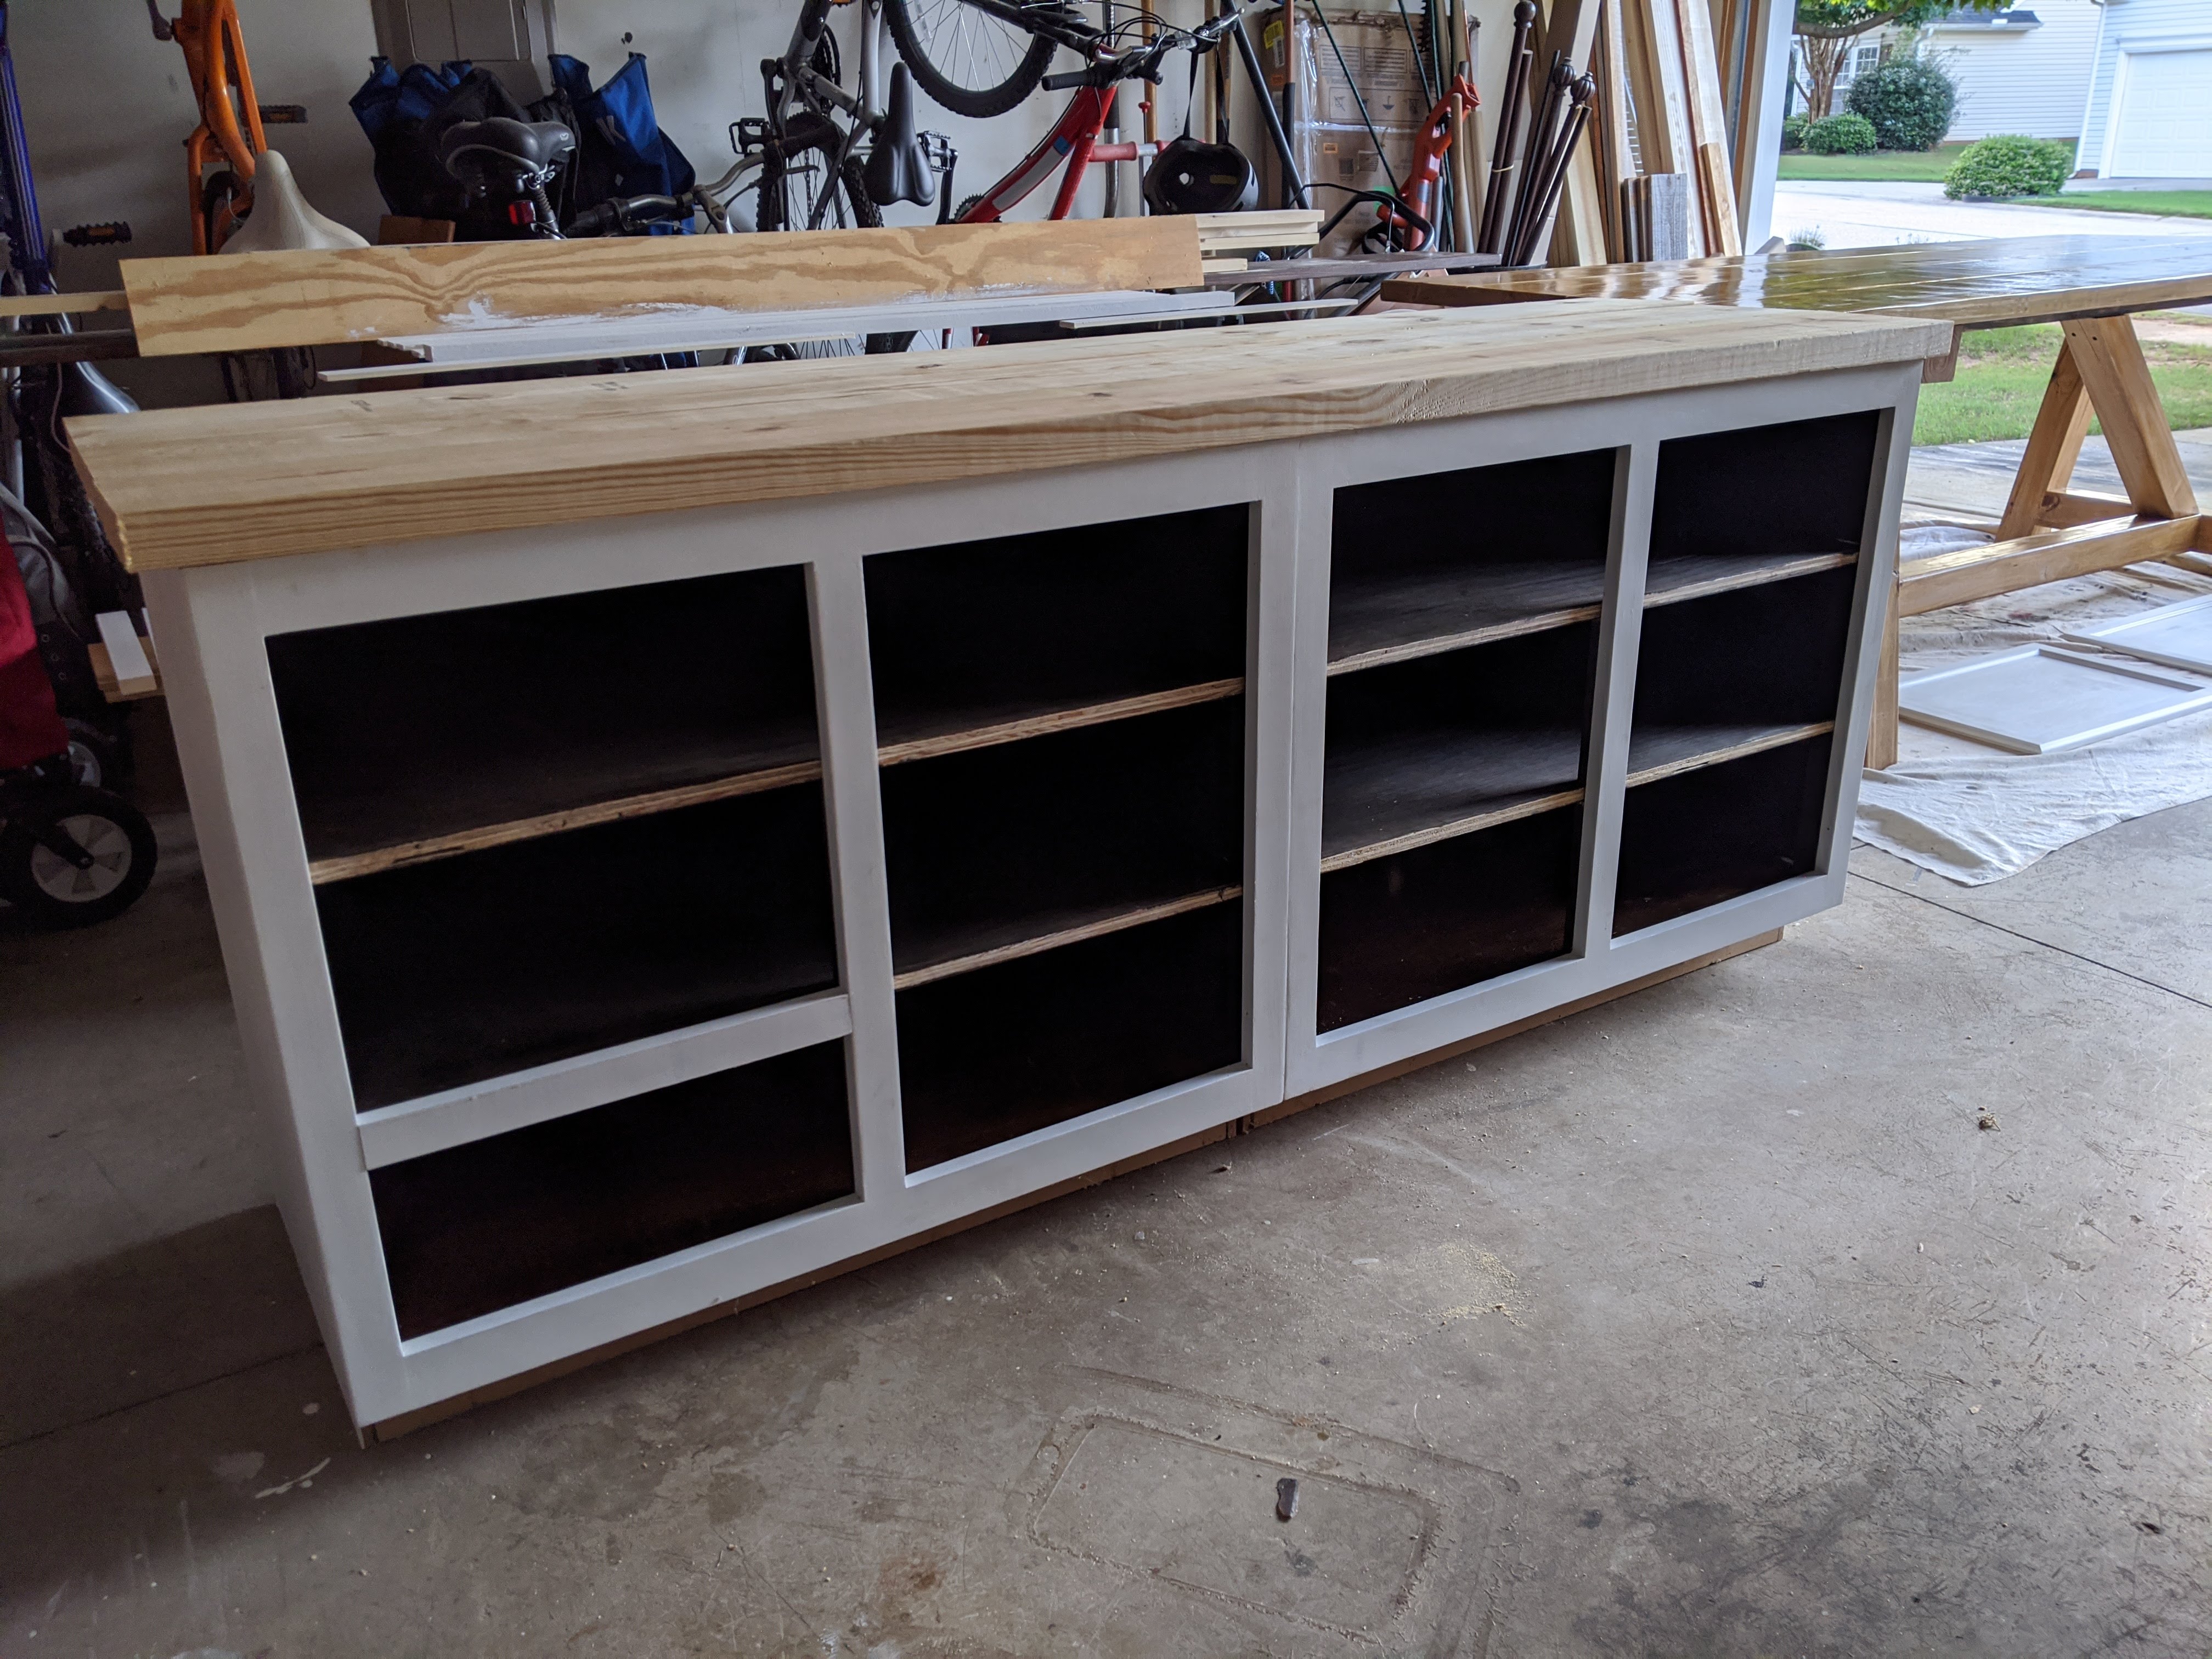
The front edges of the plywood were visible, so I attached some (1.5″ wide x 3/4″ thick) trim to the front of each shelf with my favorite tool ever: my nail gun. I’m your Huckleberry.
On the cabinet doors, I used 1/4″ thick project wood to create an X pattern inside the existing raised panel on the doors. It took equal parts measuring, math and MacGyvering but I think they look xcellent.

I added some 1×2 and 1×4 trim around the base WITH M’NAIL GUN to give it a finished look. Finally, I patched all my nail and screw holes (and anywhere I didn’t want a seam) with filler, sanded everything with 220-grit, dusted it off, and applied a couple coats of white paint.

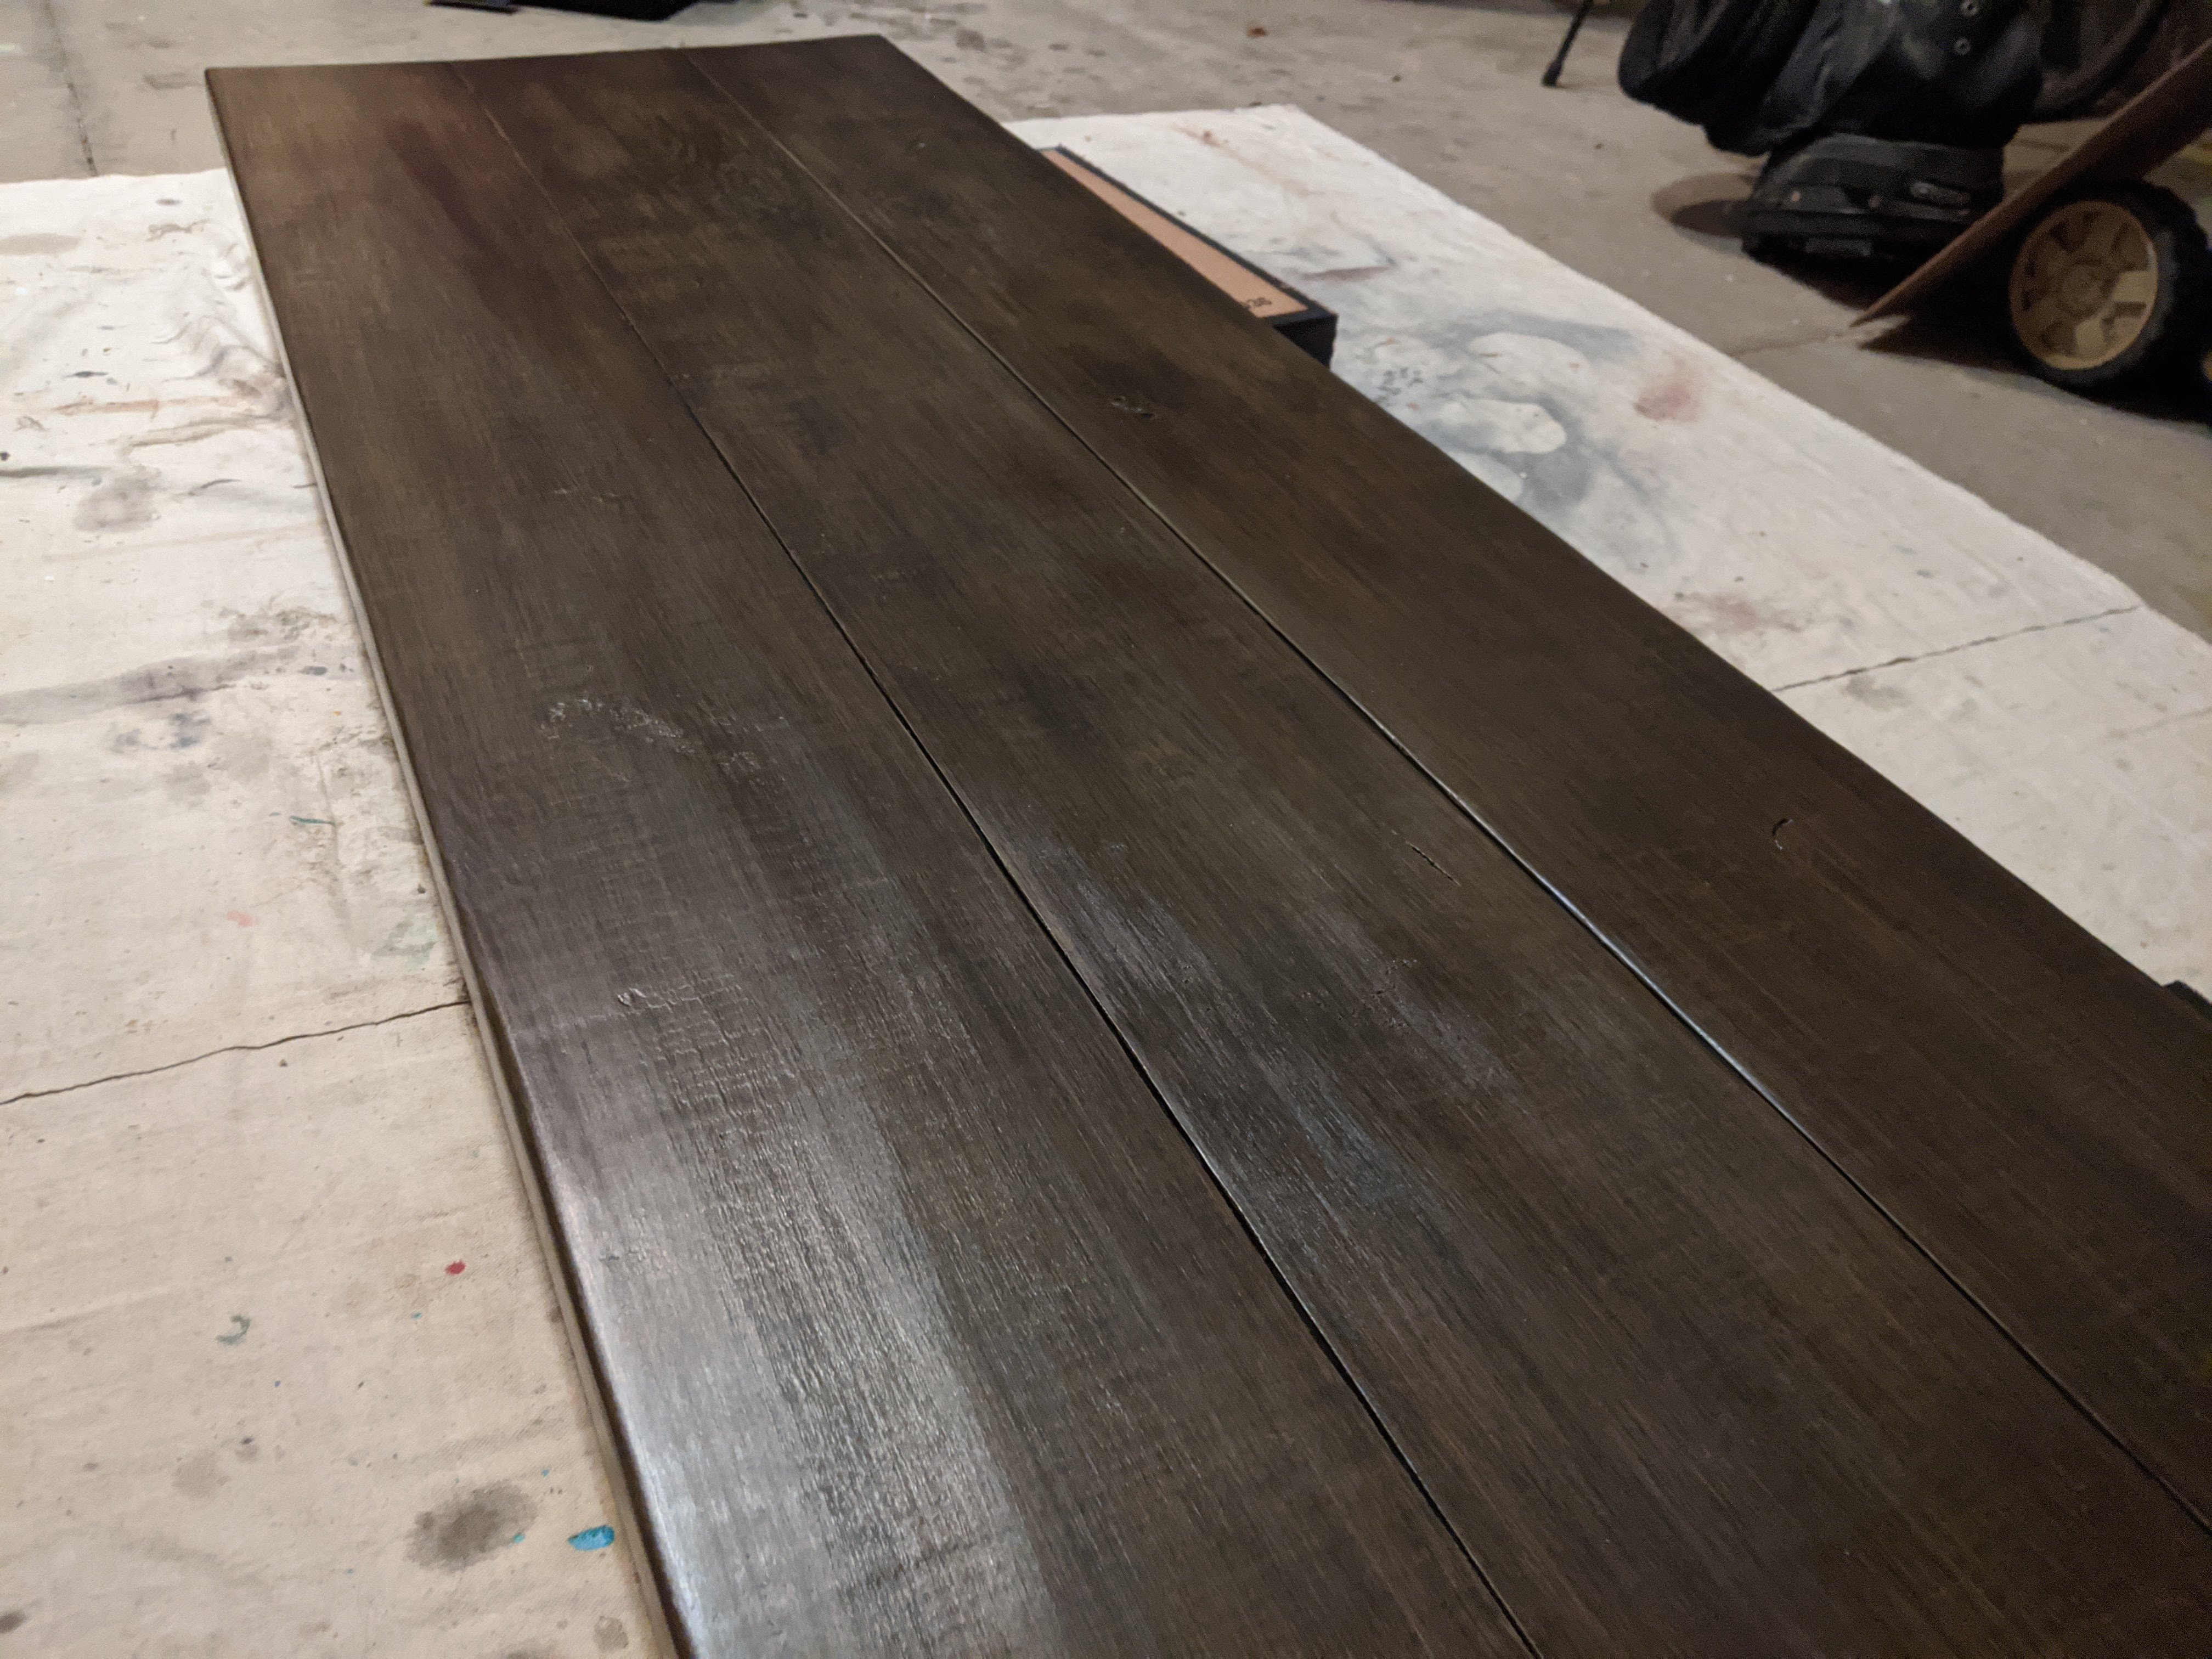
On the top, I used the same stain as the shelves, hand-sanding it between each layer using a fine, 220-grit block. I then added two coats of Polycrylic in a matte finish, sanding lightly between layers, and after the second coat with a super-fine grit, as I want to see my face shining in it by morning.
After seeing the whole thing put together, I felt like it was… lacking. I tried distressing the edges, but the white/brown combo was putting me to sleep, and this piece had been turning out SO xceptionally well til now!

So I grabbed this blue-green chalky paint from my island of misfit cans, gave it two coats, and a lil more distressing and BAM
Mmm, love that journey for this.


Lastly, I (we) installed this very reasonably priced barn door kit by drilling irreversible holes in my cabinet and doors. You will need a co-pilot for this step, unless you are part octopus. Thank you, hunny, from your sawdust-covered wife. Now help me up.
I’m so proud of myself. I’m sure I did plenty of things wrong.
But now I can say
Psht, I made that.


THIS. IS. AMAZING. Blue/green totally crushed it, as did the back to front doors and barn door kit. You’re amazing! How much sawdust? 🤣 I’ll buy one!!
I absolutely love everything about this project and everything about your writing style. So much fun to read!
Thank you so much!! ❤