
I’m lazy. And cheap. I like making stuff from stuff I have lying around, even though it’d turn out better if I went and bought nice new materials. Case in point, my legit new ruler height chart.
Problems:
- The height charts I bought when my boys were babies only go up to 5.5 feet (and are decorated with cutesie planets and generic cartoon soccer balls).
- Fine when they were babies, but my 9 year old is already over 5 feet tall…
- I don’t want to put height marks on a random wall, because when you move… sniffle.
Solution: These super-cool giant rulers I see on Pinterest!
I can do that. What do I have? Oh, look… a big ole flat piece of plywood, saying ‘let me be your ruuuler.’ Perfect. Hey! Some white paint. Excellent. Let’s go.

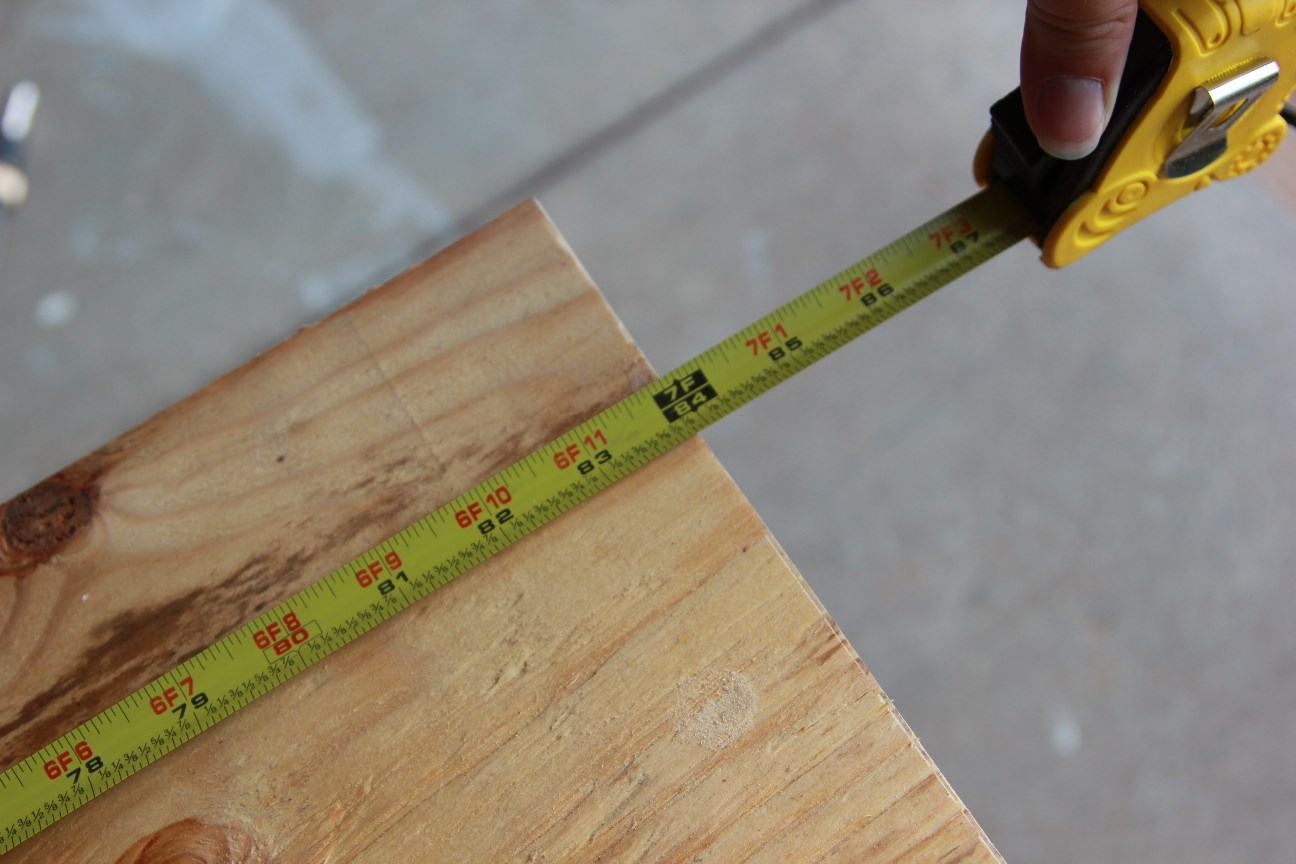
STEP ONE: Size. My plywood is already 10″ wide. (I’ve seen them 6″ up to 12″ wide, but IMHO, less than 6″ wouldn’t look sufficiently ruler-like.)How tall do I want this? Well, my husband and kids are freakishly tall, so I don’t want it to end before 6’6″. My plan is to hang it 6″ off the floor, and have it end at 7’6″. I have high expectations, apparently. Measure twice, cut once!
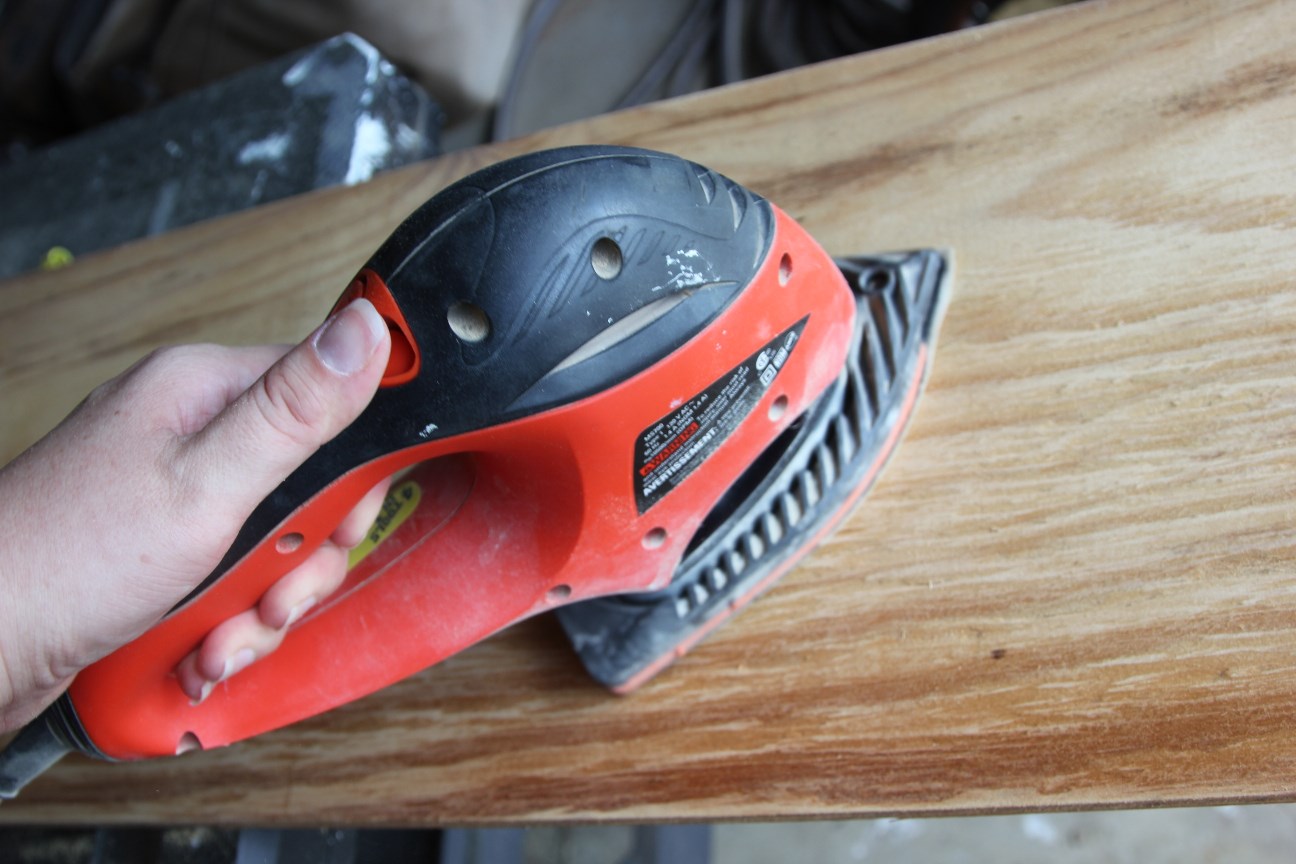
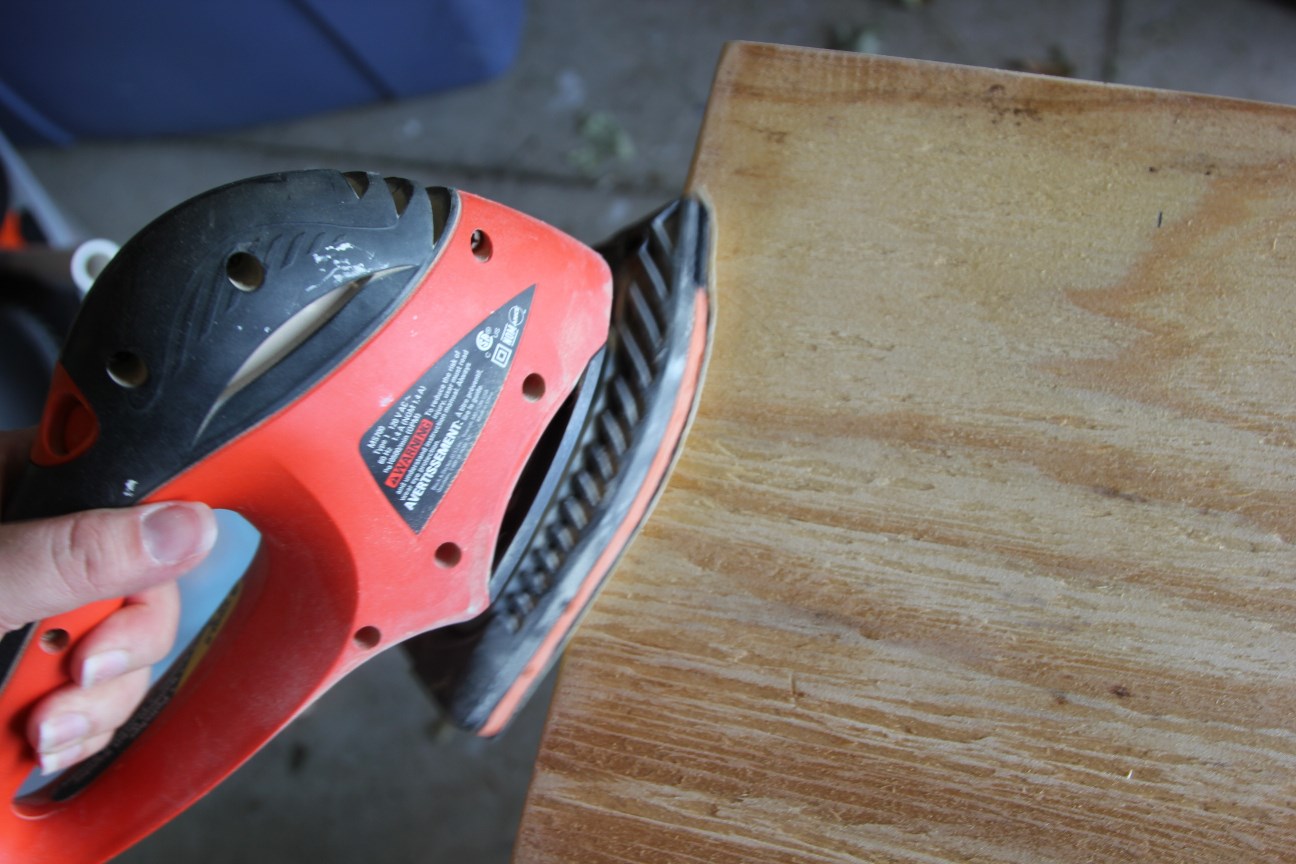
STEP TWO: Smooth. Sanded it down to make it as smooth as possible. I think sanding actually makes plywood rougher. Oh well. (I’m cheap.) I also tried to round the edges a bit, to make it look klassy.
STEP THREE: Clean. Not gonna lie, I used my leaf blower to get all the dust off. (I’m lazy.)
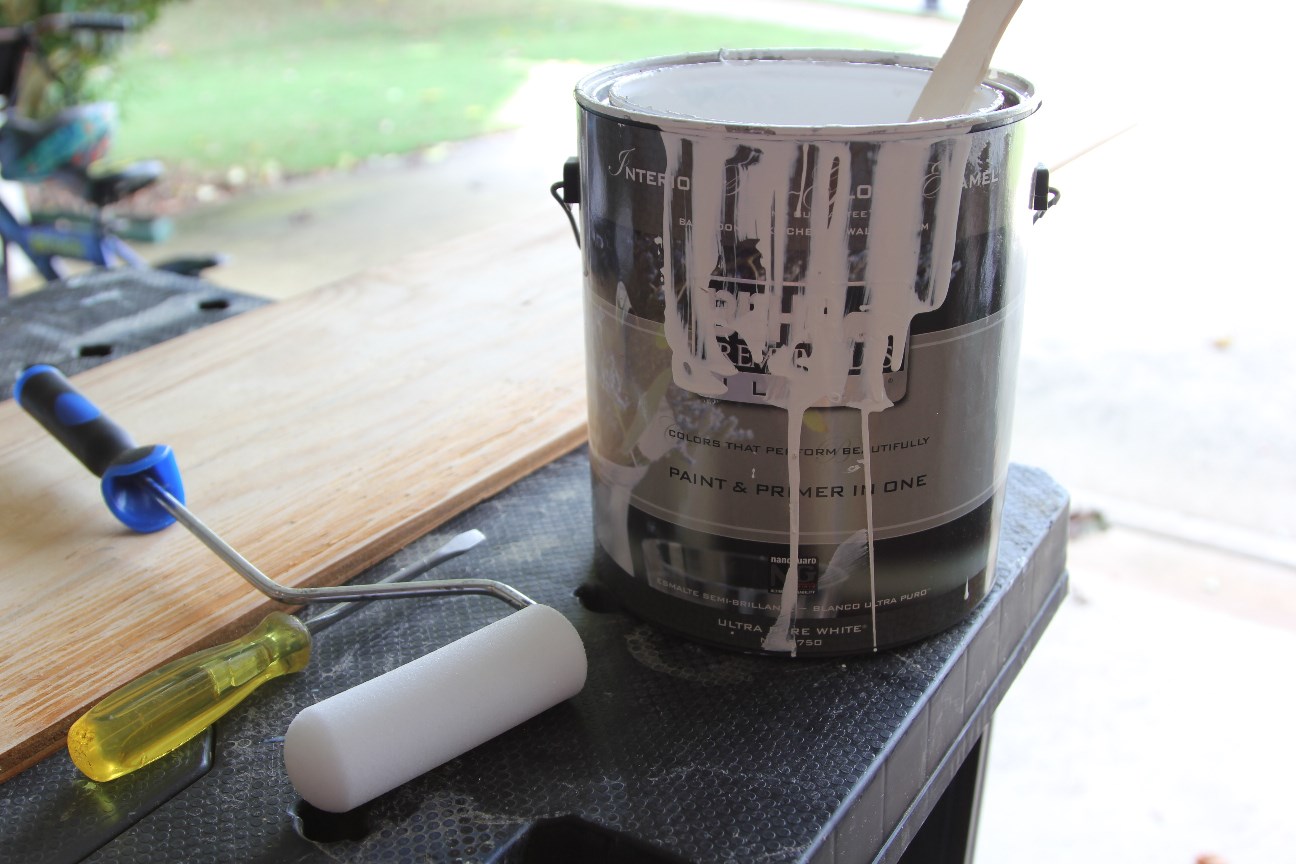
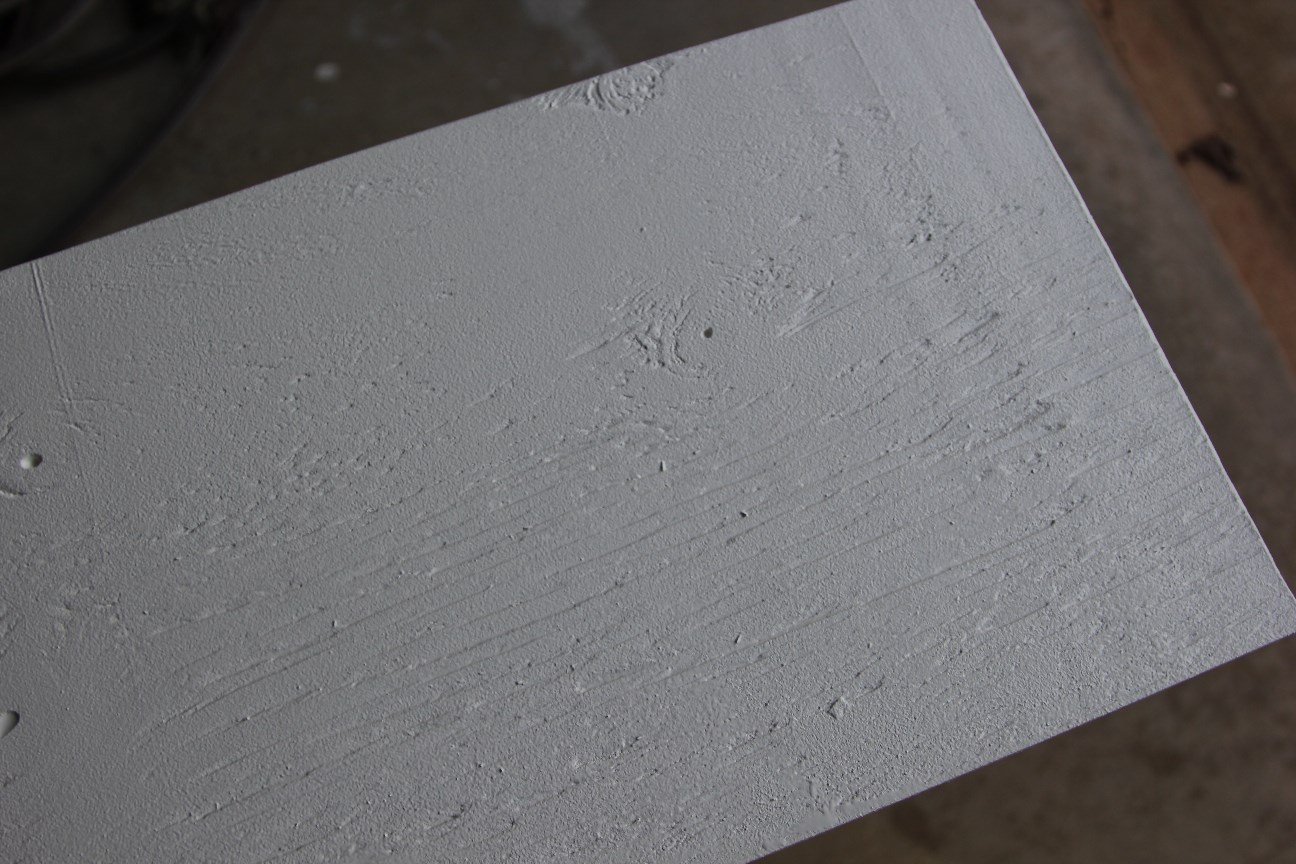
STEP FOUR: Paint! My can of Zinsser is all dried out. Boo. But my can of BEHR Premium Primer+Paint is ready to go. Yay! And these rollers are meant for “smooth surfaces.” Psht. Whatever. Don’t you love “helpers?” Here it is after like 6 coats (I kept thinking one more coat would make it look smoother). You don’t need that many.

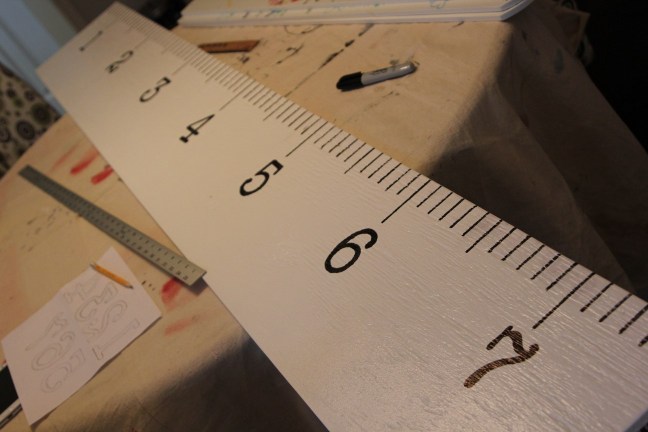
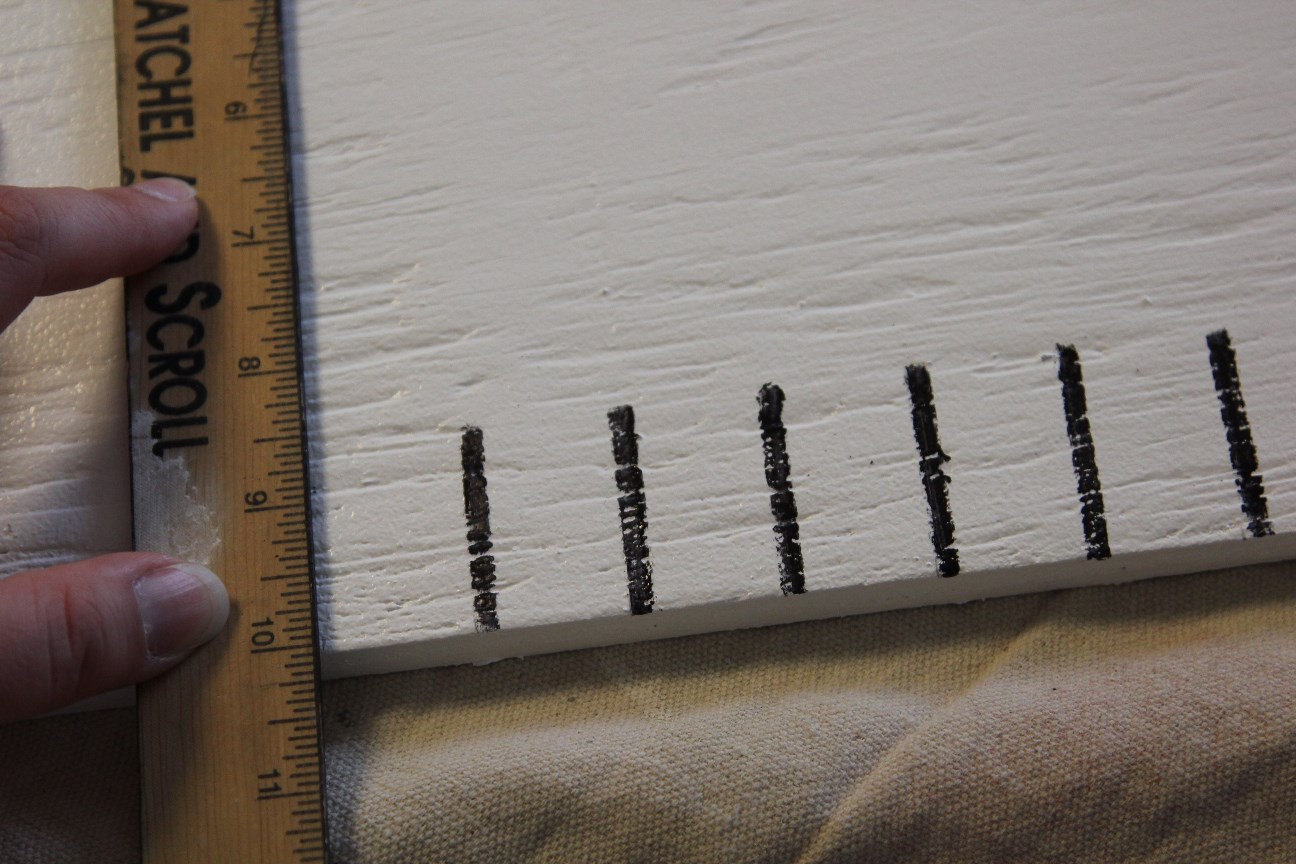
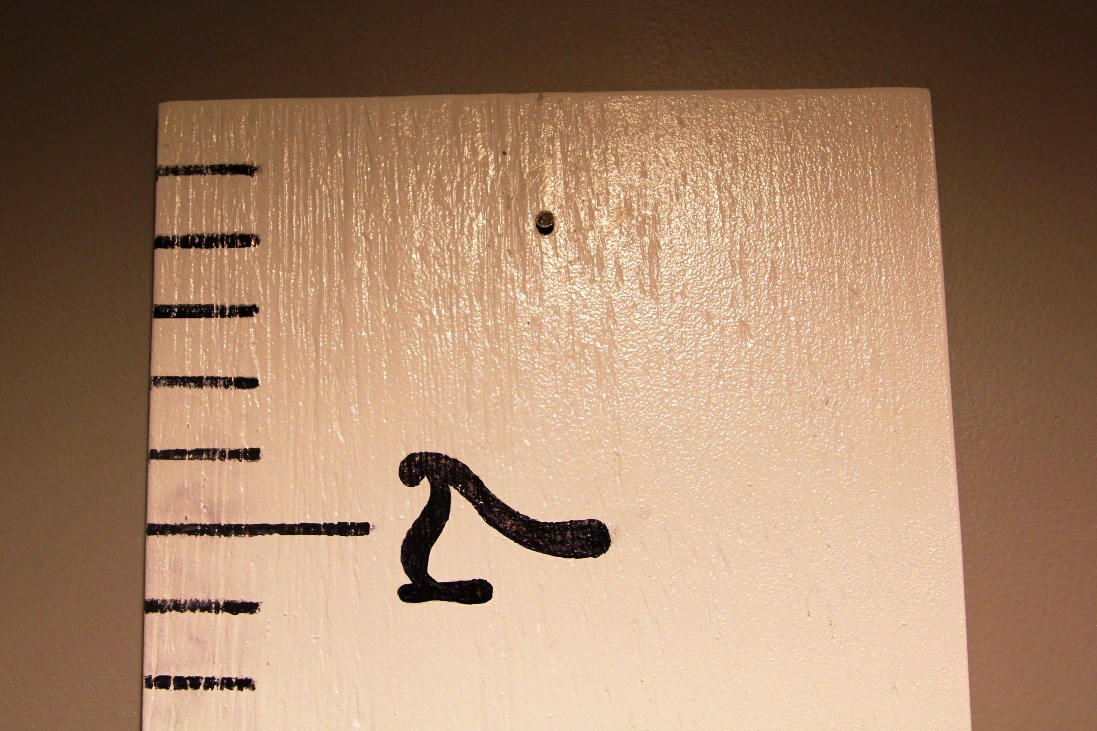
STEP FIVE: Sharpie. This part took longer than I thought. Anything you have to do with repeated precision over and over… ugh. (If you have thoughts on how I could have done this faster, I’m all ears.) Part of the problem was the uneven surface of the plywood. And it ruined my sharpie. If I had a nice, smooth piece of hardwood, it would have been much easier. (Cheap/Lazy.) I keep telling myself it adds to the charm. I made the foot hashes and 6″ hashes a little longer than the little inch hashes, just a like a real ruler.

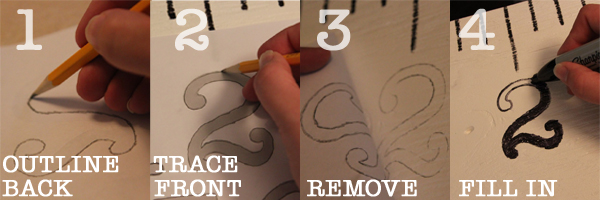
STEP SIX: Numbering. THIS process was great. Found an American Typewriter font, typed 1-7, made the font as big as would fit on a sheet of paper, and printed it out. I don’t really want to cut all these out to trace them. (Lazy.) Don’t want to go buy mailbox numbers instead. (Cheap.)
But I found that if you roughly pencil the outline on the back of the paper, then flip it over to the front and trace it with a bit of pressure, you’re left with a very nice carbon copy (actually, graphite copy) to guide you! BLOODY BRILLIANT.
STEP SEVEN: Hang it. This thing is heavy, so it’ll need to go into a stud. I hate trying to put something with a claw hanger at the right height, because I don’t have XRAY vision (also, lazy), so I’m going to drill a nice lil hole two inches from the top and put a big ole nail in the wall. It still wasn’t easy getting it on the wall at the EXACT right height. There may be a few holes hidden behind there… sorry, honey.
I hung it at the top of the stairs.
There. Finished. Well, except for remarking all of my kids’ heights up til now. But I’ll just let it stay pristine for a while.

Here’s what I messed up on, so you don’t have to…
If I did it again:
- I would use a smoother piece of wood (EVERYthing would have been easier)
- I would use black paint and a precision brush instead of a Sharpie (because it looks a little dried out)
- I would stain the wood a light brown instead of using paint. The paint seems to be a bit glossy, which looks nice, but the marker ink will sit on top of the paint and may smudge before it dries. (Buuuuut, cheap.)
- Also, if you are right handed, start your marks on the left, and go from there, lest you feel the wrath of Sharpie smudges. (Um, we’ll file that under stoopid.)
- Lay out the line for your numbers before you start putting them on there. Mine are a little crooked. (Lazy.)
- Don’t try to hang it by yourself. Sooo glad no one was filming that for a reality show.
So, what do you think??


YOU’RE bloody brilliant. Also, can I mark my height on there? I bet $10 that Layton passes me by 2018.
I clicked on this BEFORE I realized t was you…Its like discovering you all over again!!!!!
YAY!!!!! Hahahahaha – You should make one for Evan!
that’s what I was thinking in the first place.
Another idea for transferring (like you did your numbers) is to rub the back side of your printed paper with chalk, and then trace as you did. Works great if you are working on something stained, or painted anything but white 😉
Excellent tip! Thanks!!