
My kids: drop backpack in center of hallway, proceed to fridge, what even is a homework
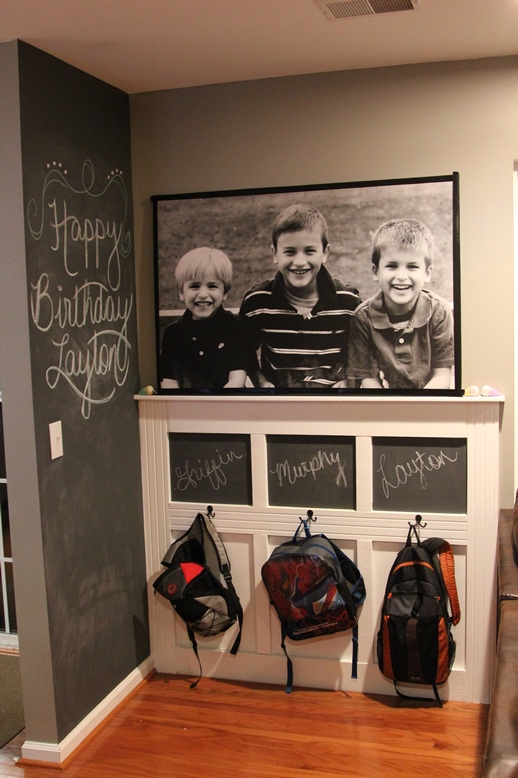
I was perusing Pinterest for the meaning of life, aka staying sane and organized while raising three boys. No luck there, but I did find this.
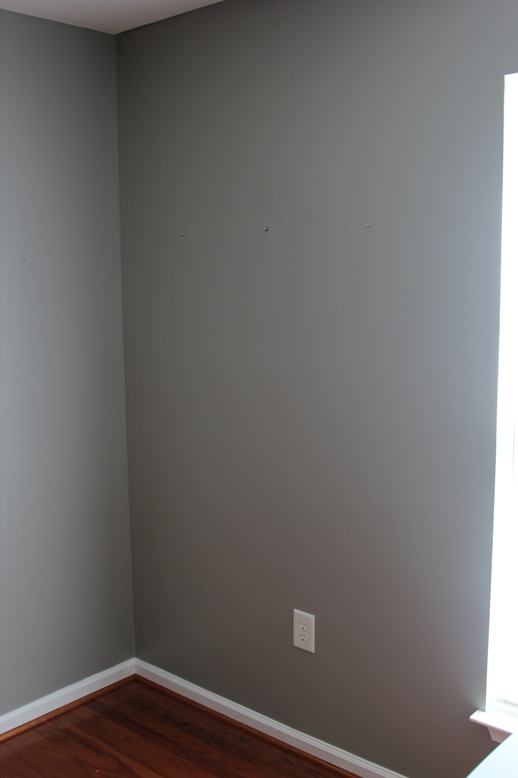
Once my wheels were turning (my husband LOVES it when that happens*), I realized that the corner between my kitchen and family room was four feet of empty, wasted space.
*he does not love it
I measured the space, and sketched out a design with graph paper and *mumbles under breath* PowerPoint, taking into account that daggum outlet. (Whoever thought these cube shelves would be [a] useful for backpacks or [b] attractive after said use was incorrect.) (That’s me, I was incorrect.)

Here are the supplies I needed:
- About 2 days, coffee, snacks and a helpful and patient life partner (optional, but highly recommended)
- 1×6″ trim (I used five 48″ pieces)
- 1×3″ trim (I used five 60″ pieces)
- Hand or miter saw to cut pieces to length
- Hooks with screws (I used 3 double “drunk octopus” hooks)
- Screwdriver
- Wood screws (2.5″ or long enough to get through your trim, 1/2″ of drywall and into a stud)
- Drill and small bit (for pilot holes), optional countersink bit
- Wood putty, putty knife, sandpaper
- Paint (and various accompanying painty stuffs)
- Basic tools like a level, measuring tape, stud finder, etc.
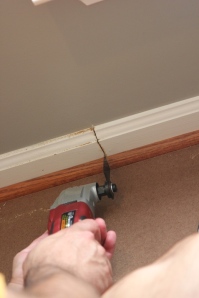
- And we used an oscillating saw to cut off the molding at the edge of our project space:

Thanks for the inspiration. I built one based on your design.
Awesome! I would love to see it!
Hi, where did you buy the pieces of wood with the grooves? I couldn’t find anything like that at home depot. Thanks
Funny story – So I was driving home one day, and they were remodeling this building, and a whole bunch of wood pieces were outside in the parking lot with a sign that said FREE. So um, yeah. I got it on the side of the road.
You can make one with a table saw or circular saw.
I love this! What kind of frame did you use for your engineering print? Also what was he total cost of the project? Thank you for the inspiration and help!
Tee hee, the “frame” is black electrical tape!!!
I honestly can’t remember the total cost of this project, but it was just wood, nails, hooks, caulk and paint…
Hello, I love this!!! What size did you use for the shelf?
Hi there! I’m glad you like it!! It’s been a minute since I did this, but I believe the width is 48″ and we used a 1×2 (so it’s not so much a “shelf” as a delineating piece of wood that has very little function).
Hi Bethany,
I’m currently working on a roundup for a client featuring backpack organization. I will be including a link to your post The Backpack Wall, it’s BEAUTIFUL!
I wanted to request permission to use one image from the post in the roundup, which will link back to your post as well. Your content will not be duplicated in any way.
Absolutely, and how very kind of you to ask. Thank you so much!
Thank you very much! I’m wrapping up the post tomorrow so I’m sure you’ll see a pingback within the next week. Have a great weekend!
I know i am late to seeing this post, but this is so great! Also, what kind of tool is picture where your hubby is cutting through the trim? I need that in my life.
LOL! It’s called an oscillating tool, and there are a couple different kinds of attachments, so it’s a pretty versatile tool to have! Thanks for stopping by and commenting!! 🙂
Love this idea. Thanks for sharing.
Why thank you, Catherine!