
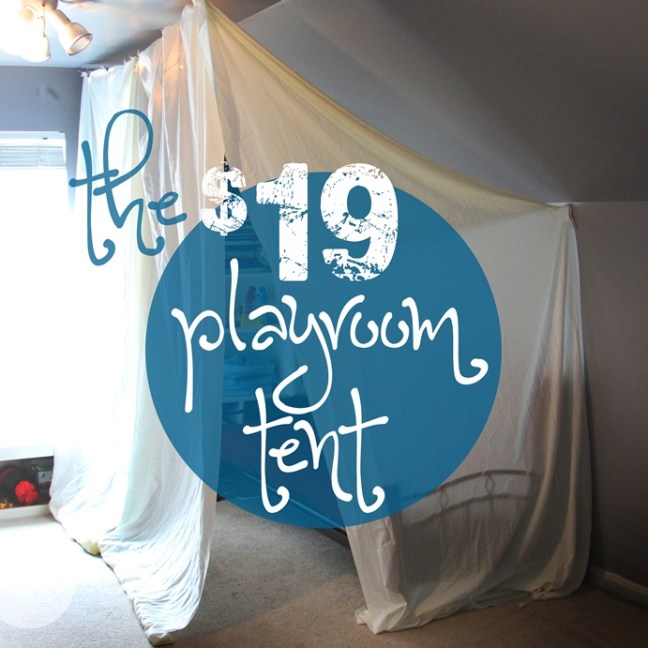
Why do kids love forts so much? It’s a mystery to me, but every time we pulled out our little pop-up tent, you’d think I’d brought Disney World home. Those tents were flimsy though, and we didn’t really have good fort-making structures up there.
So I started thinking… what could we create that (a) had enough space for growing boys, (b) could be set up and taken down easily, and (c) wasn’t going to require a lot of room to store.
OK, enough chit chat. Let’s get down to it.
STEP ONE: Measure your space
My tent is 4’x8′. I kept it to multiples of four, because I figured that would make it easier, math-wise. (It was also the approximate size of my futon when unfolded!) Once you’ve planned out your space, you’ll know how much of everything you’ll need.
STEP TWO: Gather your materials
I used:
– Three 4’x9′ pieces of fabric from the fabric store ($18 of my $19). Any lightweight fabric would work. Old twin sheets would be perfect.
– Three small eye hooks and some picture-hanging wire I already had.
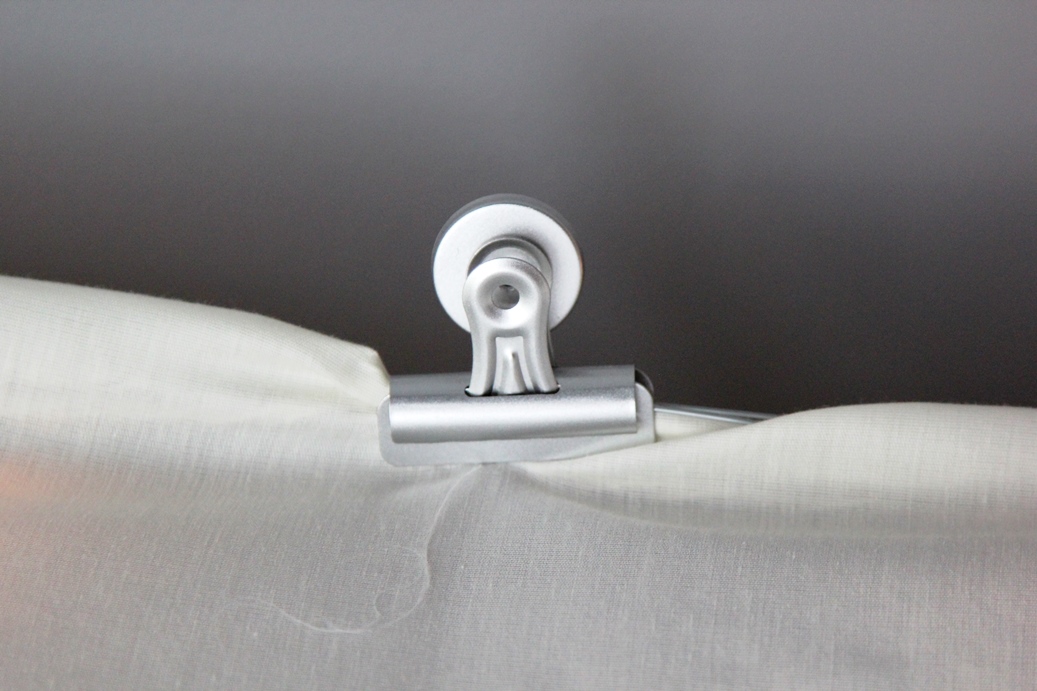
– A set of 6 white plastic clamps from the dollar store. (See below as to why this was a poor decision.) Tadaa, we’re at $19.
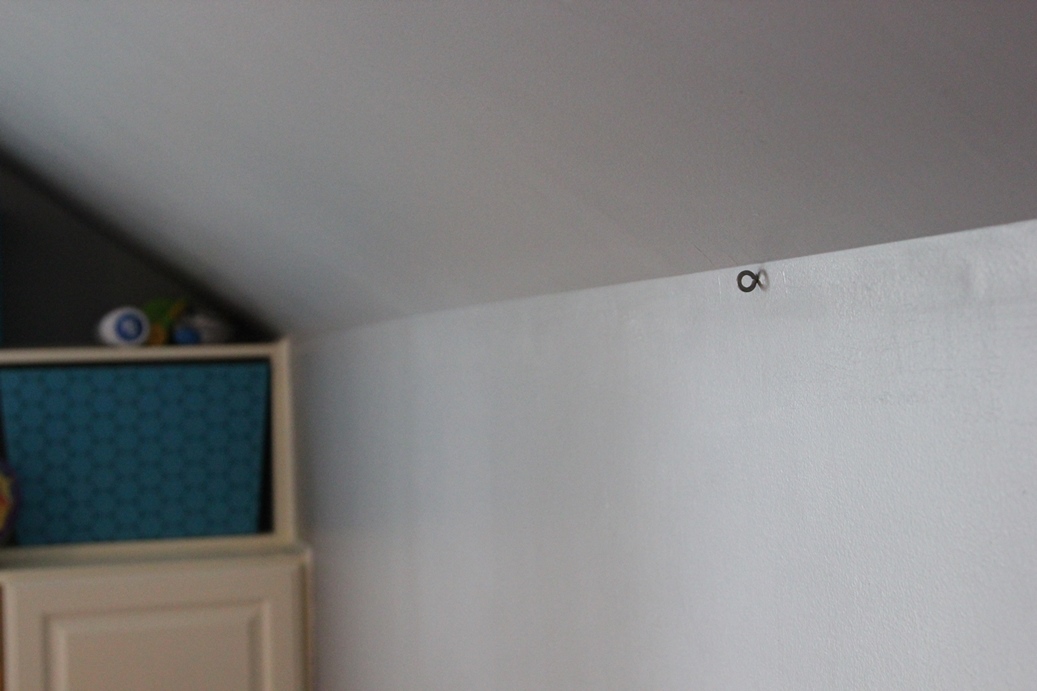
STEP THREE: Measure and install your eye hooks
My tent is eight feet long and four feet wide. So I installed my eye hooks accordingly, as close to the ceiling (or sloped ceiling) as possible. And it’s only leaving three tiny holes in my wall, that’s it!
STEP FOUR: Hang your wire
All we did was attach the wire to the first eye hook, string it through the second one, and attach it to the first one again. (I could have run it to the third one too, but I didn’t wanna run it down the sloped wall.) This is the one in the ceiling by the fan:

STEP FIVE: Hang your fabric
I draped two panels (side-by-side) over the wire, with a few inches hanging over on the inside, and put a clamp on it every foot or so. (Small strand of twinkly lights – optional.)

The fabric for the front of the tent gets attached to the last clamp on the ceiling wire, and then clamped to the eye hook in the side wall:

Bonus: it works like a shower curtain, so I just pull it back, put it into this tote, and put it on the top shelf when they’re done.

Now for the fun part… here’s what I screwed up on so you don’t have to!
1- Use longer eye hooks. (^^^ “Screwed” up on – ha.) I used little ones, like maybe an inch long. Use heavier-duty ones.
2- DO NOT BUY the white plastic “clamps” from the dollar store. They are barely strong enough to use as chip clips.
Instead, I used these heavier-duty clips that I already had (the rounded shape of which makes the “shower curtain effect” even smoother).
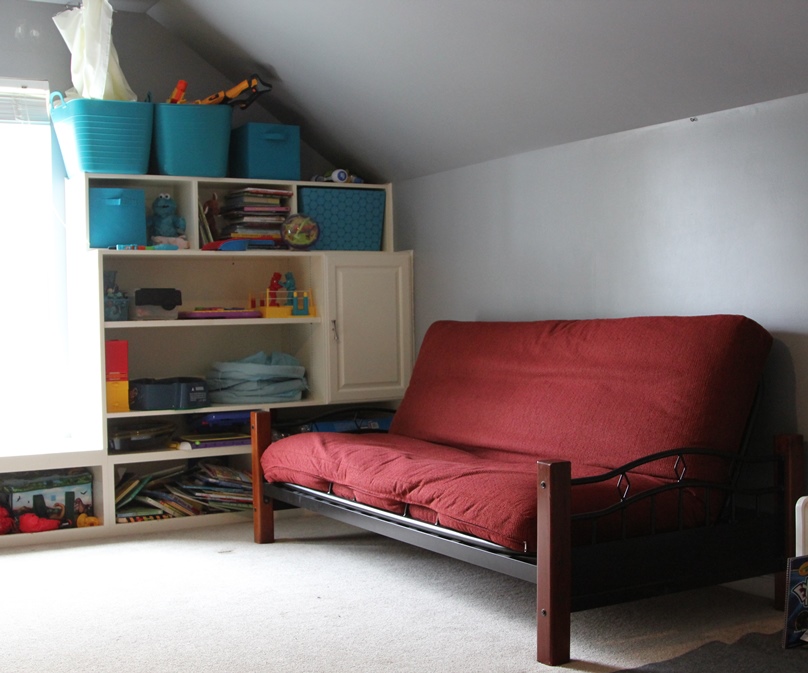
3- Make sure you really observe your space… is there an AC vent? A light? An attic door? Ahem, a ceiling fan??? All these might impact your space’s tentability.
And the finished product:

Sorry I don’t have a “before” shot, but here’s something that made me chuckle…
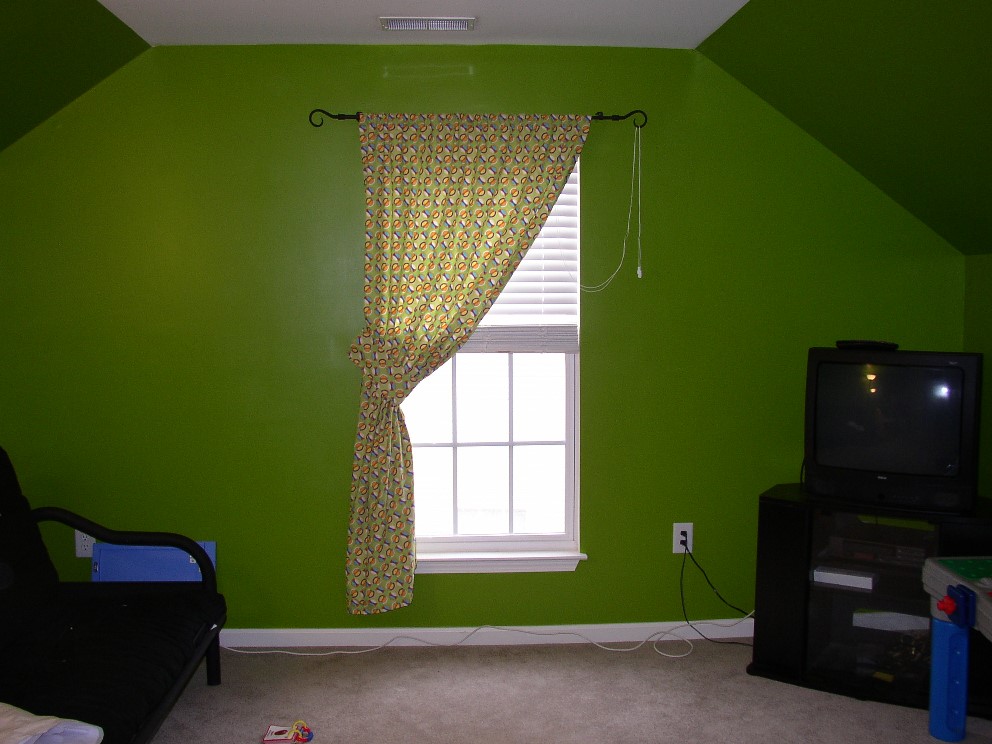
So, I went through a phase when I thought brighter was better. I dubbed this color Radioactive Guacamole. Thankfully, we came to our senses, added some built-ins and went with the lovely taupe-ish/gray we have now.
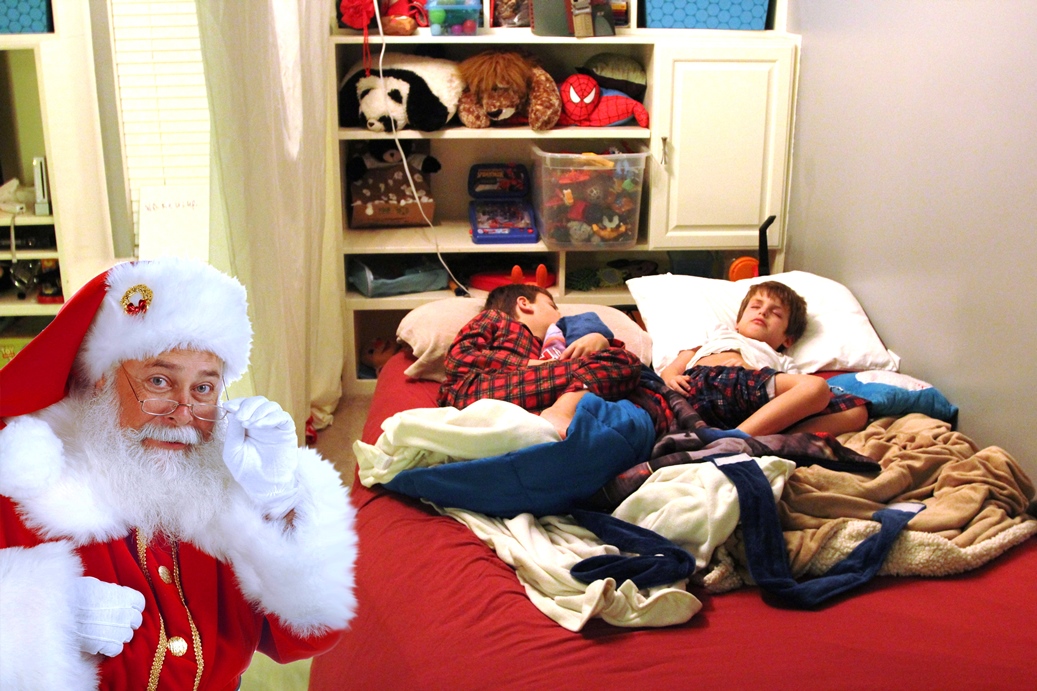
And my Christmas Mommy Win – I took a picture of my kids asleep in their new tent and “added” a Santa taking a selfie (Photoshop). My kids FREAKED out on Christmas morning over this. “Why didn’t he wake us uuuuup?”
I hope you’ve enjoyed the $19 Playroom Tent. Happy building!
