
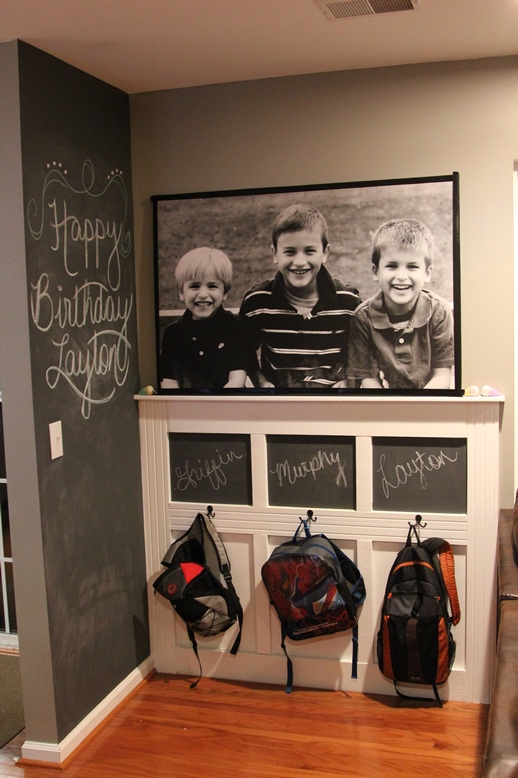
My kids: drop backpack in center of hallway, proceed to fridge, what even is a homework
I was perusing Pinterest for the meaning of life, aka staying sane and organized while raising three boys. No luck there, but I did find this.
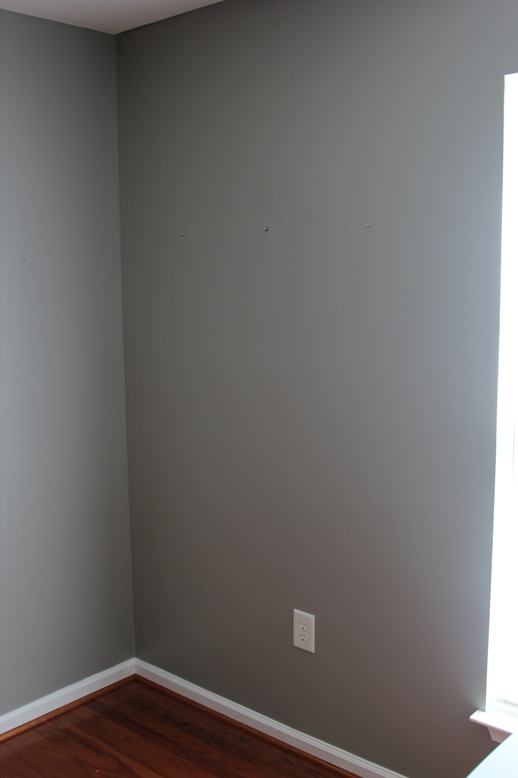
Once my wheels were turning (my husband LOVES it when that happens*), I realized that the corner between my kitchen and family room was four feet of empty, wasted space.
*he does not love it
I measured the space, and sketched out a design with graph paper and *mumbles under breath* PowerPoint, taking into account that daggum outlet. (Whoever thought these cube shelves would be [a] useful for backpacks or [b] attractive after said use was incorrect.) (That’s me, I was incorrect.)

Here are the supplies I needed:
- About 2 days, coffee, snacks and a helpful and patient life partner (optional, but highly recommended)
- 1×6″ trim (I used five 48″ pieces)
- 1×3″ trim (I used five 60″ pieces)
- Hand or miter saw to cut pieces to length
- Hooks with screws (I used 3 double “drunk octopus” hooks)
- Screwdriver
- Wood screws (2.5″ or long enough to get through your trim, 1/2″ of drywall and into a stud)
- Drill and small bit (for pilot holes), optional countersink bit
- Wood putty, putty knife, sandpaper
- Paint (and various accompanying painty stuffs)
- Basic tools like a level, measuring tape, stud finder, etc.
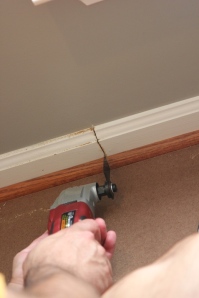
- And we used an oscillating saw to cut off the molding at the edge of our project space:

Love the 1×6 trim with the grooves but can’t find. Is that a specific tyoe/brand of trim?
So… Funny story… I actual found those in the SIDE OF THE ROAD. I know, I know. I’ve seen similar ones at Lowe’s, but not those exact ones. (My husband loves this story because he likes to add that I stopped the car because there was a sign that said FREE TRIM on the side of the road.)